

Copy steps, flows, notes, and layout
Studio includes shortcuts that speed up editing: copy and paste steps (including across flows), copy or duplicate whole flows, paste a flow from the clipboard, add Note steps on the canvas, and autolayout the diagram. Screenshots on this page show those controls in context.
When to use
Section titled “When to use”- You reuse the same steps in another flow or environment without rebuilding them.
- You need a second copy of a flow (duplicate) or to paste a flow you copied elsewhere.
- You want canvas notes for context, or a one-click layout refresh while designing.
Before you begin, open the flow (or Flows list) with permission to edit flows in the environment.
Copy and paste steps
Section titled “Copy and paste steps”You can copy any step from the step menu or with the keyboard, then paste it in the same flow or another flow.
Open the step menu. Select the step, then open the menu on the left side of the step card.
Copy the step. Choose Copy, or press ⌘C (Mac) / Ctrl+C (Windows). You can also Cut, Paste after, Delete, Run, or open Settings from the same menu.

Paste in the target flow. Open the destination flow (same or another environment), place the cursor where the step should go, and paste. Copied steps can move between flows.
Copy, duplicate, and paste flows
Section titled “Copy, duplicate, and paste flows”On the Flows page, the flow card menu and header actions let you copy a flow, duplicate it in place, or paste a flow from the clipboard.
Open Flows. Go to Flows for your organization and find the flow.
Copy or duplicate. Open the menu on the flow card. Choose Copy to put the flow on the clipboard, or Duplicate for a second flow in the same environment (the title gets (duplicated) appended).
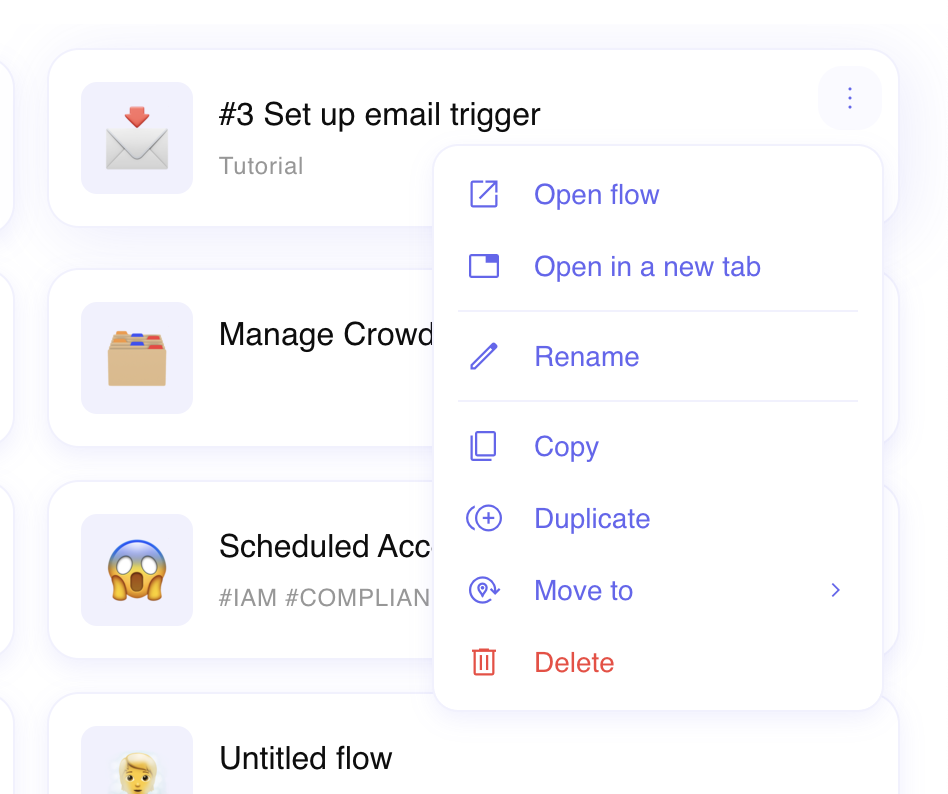
Paste a flow. On the Flows page, open the actions menu next to Create flow, then choose Paste flow. Set the name and environment, then confirm. Studio creates the flow and opens it in the designer.

For pasting a template from the public library, see Start a flow from a template.
Add a Note
Section titled “Add a Note”A Note is a Flow step you place on the canvas to document business context, owners, or dependencies. It does not run as part of the automation. Notes use Studio’s rich text editor, so you can format headings, lists, tables, and links on the canvas. AI··Note (including Document workflow on the designer toolbar) generates the same kind of Note you can then edit.
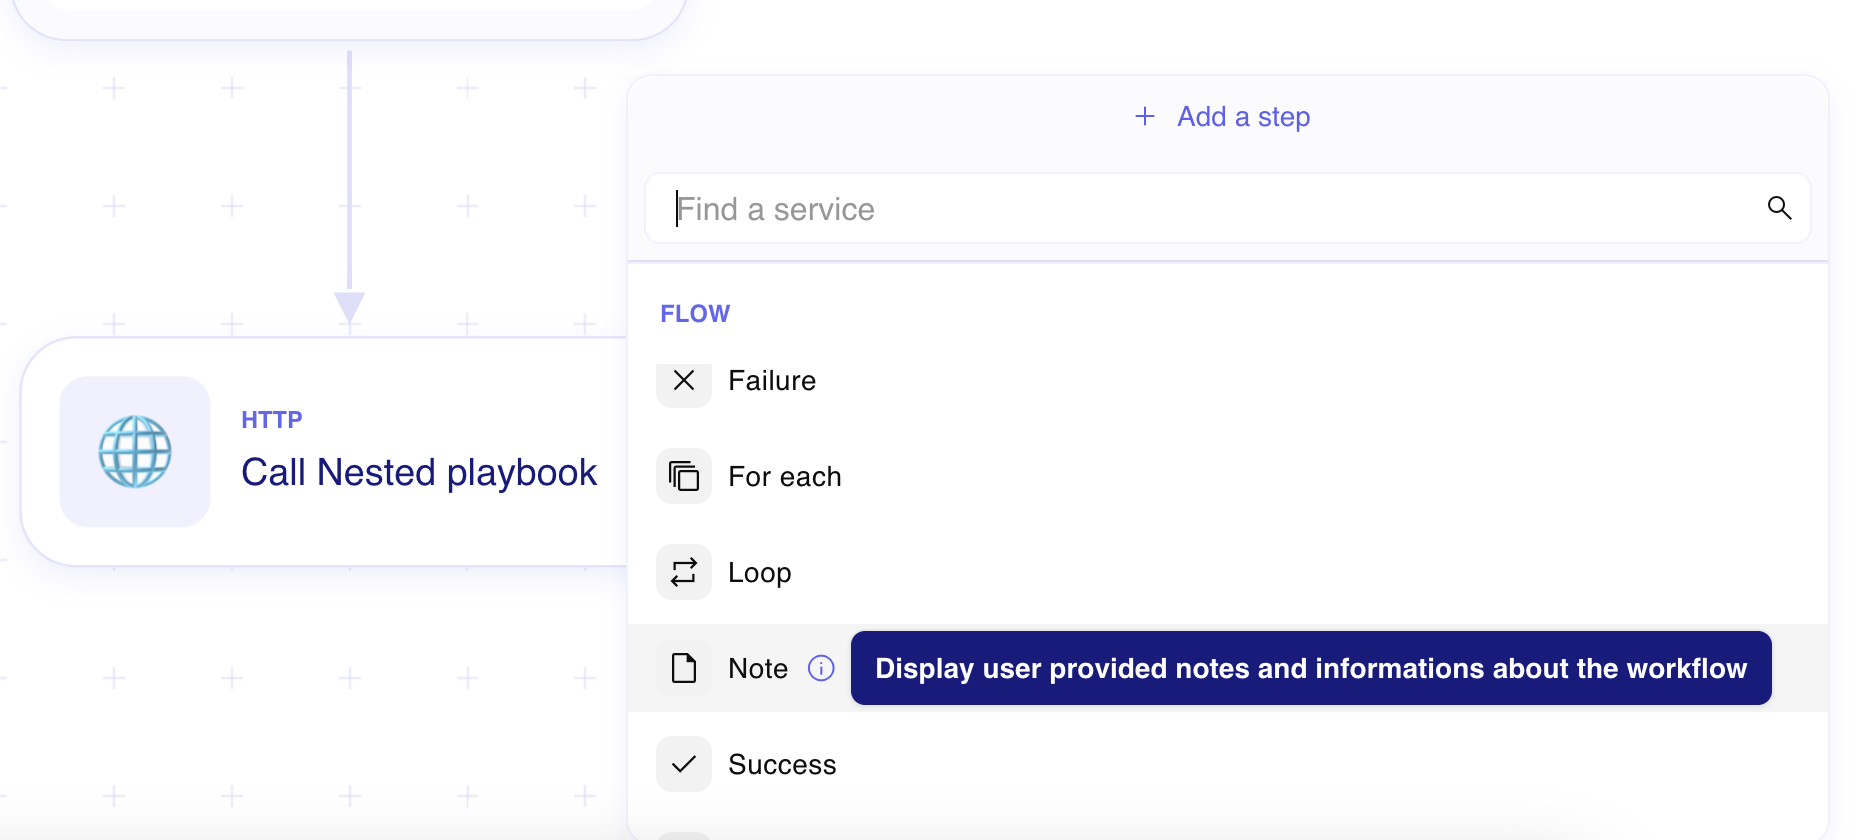
Open Add a step. Right-click the canvas (or use +) where the note should appear.
Choose Note. Under Flow, select Note.
Write and format the note. Click into the Note and use the formatting toolbar (headings, bold, lists, links, tables) so reviewers can scan the documentation. Markdown shortcuts such as
#then Space also work.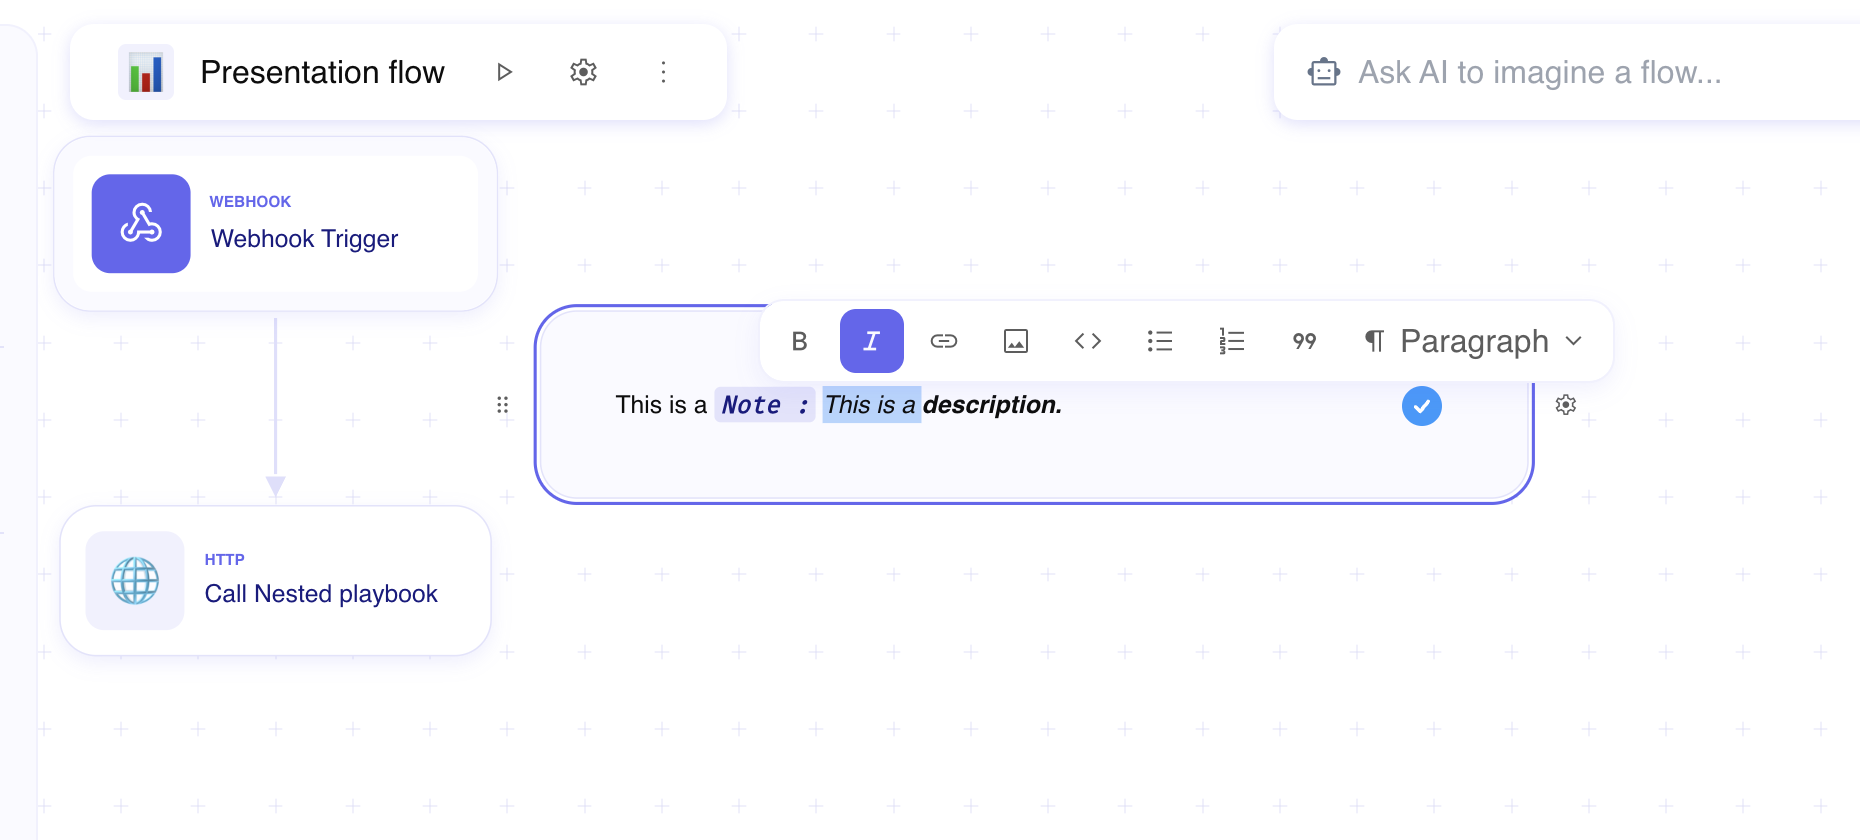
Autolayout the canvas
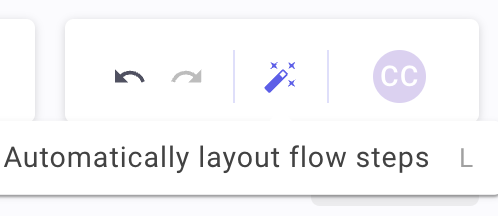
Section titled “Autolayout the canvas”The designer toolbar includes an autolayout control that rearranges the diagram. The tooltip describes it as Automagically layout the diagram. You can also press L.
Open the designer. Open the flow you want to tidy.
Run autolayout. Click the autolayout control in the upper-right toolbar, or press L. Use it whenever the graph needs a clean layout.
Example
Section titled “Example”An operator clones an onboarding flow into a staging environment. They Copy the production flow from the Flows page, open staging, choose Paste flow, and name it for staging. Inside the designer they Copy a few shared steps into a sibling flow, add a Note that lists owners, then press L to autolayout.
Keep in mind
Section titled “Keep in mind”- Prefer flow and environment in Studio—older “playbook” or “workspace” wording may still appear in places.
- To place a flow in another environment, Copy it, then Paste flow there. Do not rely on a Move to card action.
- AI··Note is a separate Flow step from Note.
Related
Section titled “Related”Start a flow from a template · Scripts, errors, and run control