Zabbix
Introduction
Section titled “Introduction”To automate monitoring tasks or integrate Zabbix with third-party orchestration tools like Mindflow, you need a secure way to authenticate.
While Zabbix supports username/password authentication via the API, API Tokens are the modern, secure standard. They allow for long-lived, revocable access without exposing user credentials in scripts or automation workflows.
This guide covers the generation of a permanent or time-limited token that grants programmatic access to the Zabbix API based on the permissions of the assigned user.
Walkthrough
Section titled “Walkthrough”1. Access the API Token Section
Section titled “1. Access the API Token Section”Depending on your user permissions, there are two ways to reach the token management screen:
-
As an Admin: Go to Administration → Users → API tokens. This allows you to create tokens for any user in the system.

-
As a Regular User: Go to User settings → API tokens (accessible via the user icon in the top right).
- Note: Your User Role must have “Manage API tokens” enabled.
2. Configure Token Details
Section titled “2. Configure Token Details”Click the Create API token button in the top-right corner and fill in the following fields:
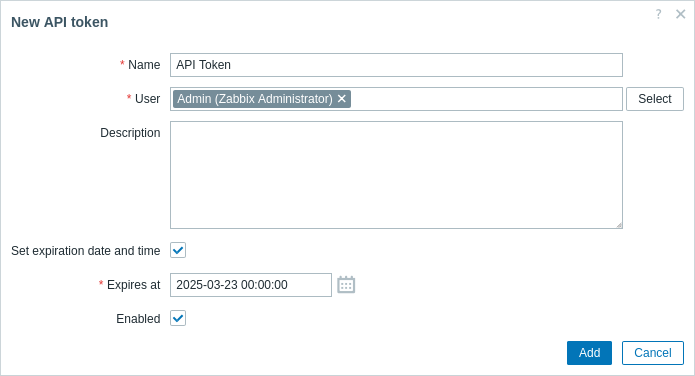
3. Generate and Save the Token
Section titled “3. Generate and Save the Token”After clicking Add, Zabbix will generate the unique Auth token string.
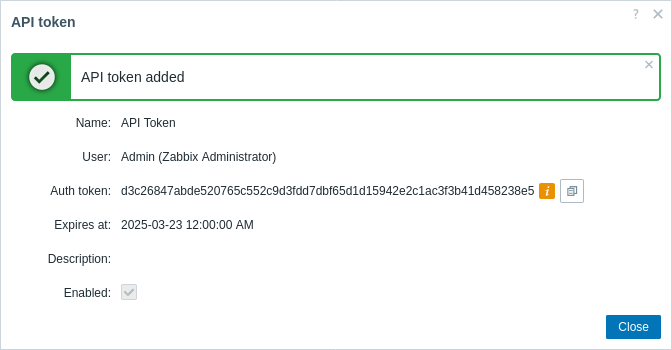
4. Regenerating or Revoking Tokens
Section titled “4. Regenerating or Revoking Tokens”- Regenerate: If a token is lost or leaked, you can click on the token name in the list and select Regenerate. This provides a new string and immediately invalidates the old one.
- Disable/Delete: Use the status toggle in the list to temporarily disable access, or select the checkbox and click Delete to remove the token permanently.
Configure the Mindflow Credential
Section titled “Configure the Mindflow Credential”With the Zabbix API token copied, you must now create a corresponding secure credential within Mindflow to allow your workflows to communicate with the Zabbix API.
1. Initiate Credential Creation
Section titled “1. Initiate Credential Creation”Within the Mindflow platform, navigate to your Environments. If you are creating a new credential, use the “Create credential” icon, which is shown here and highlighted in black:
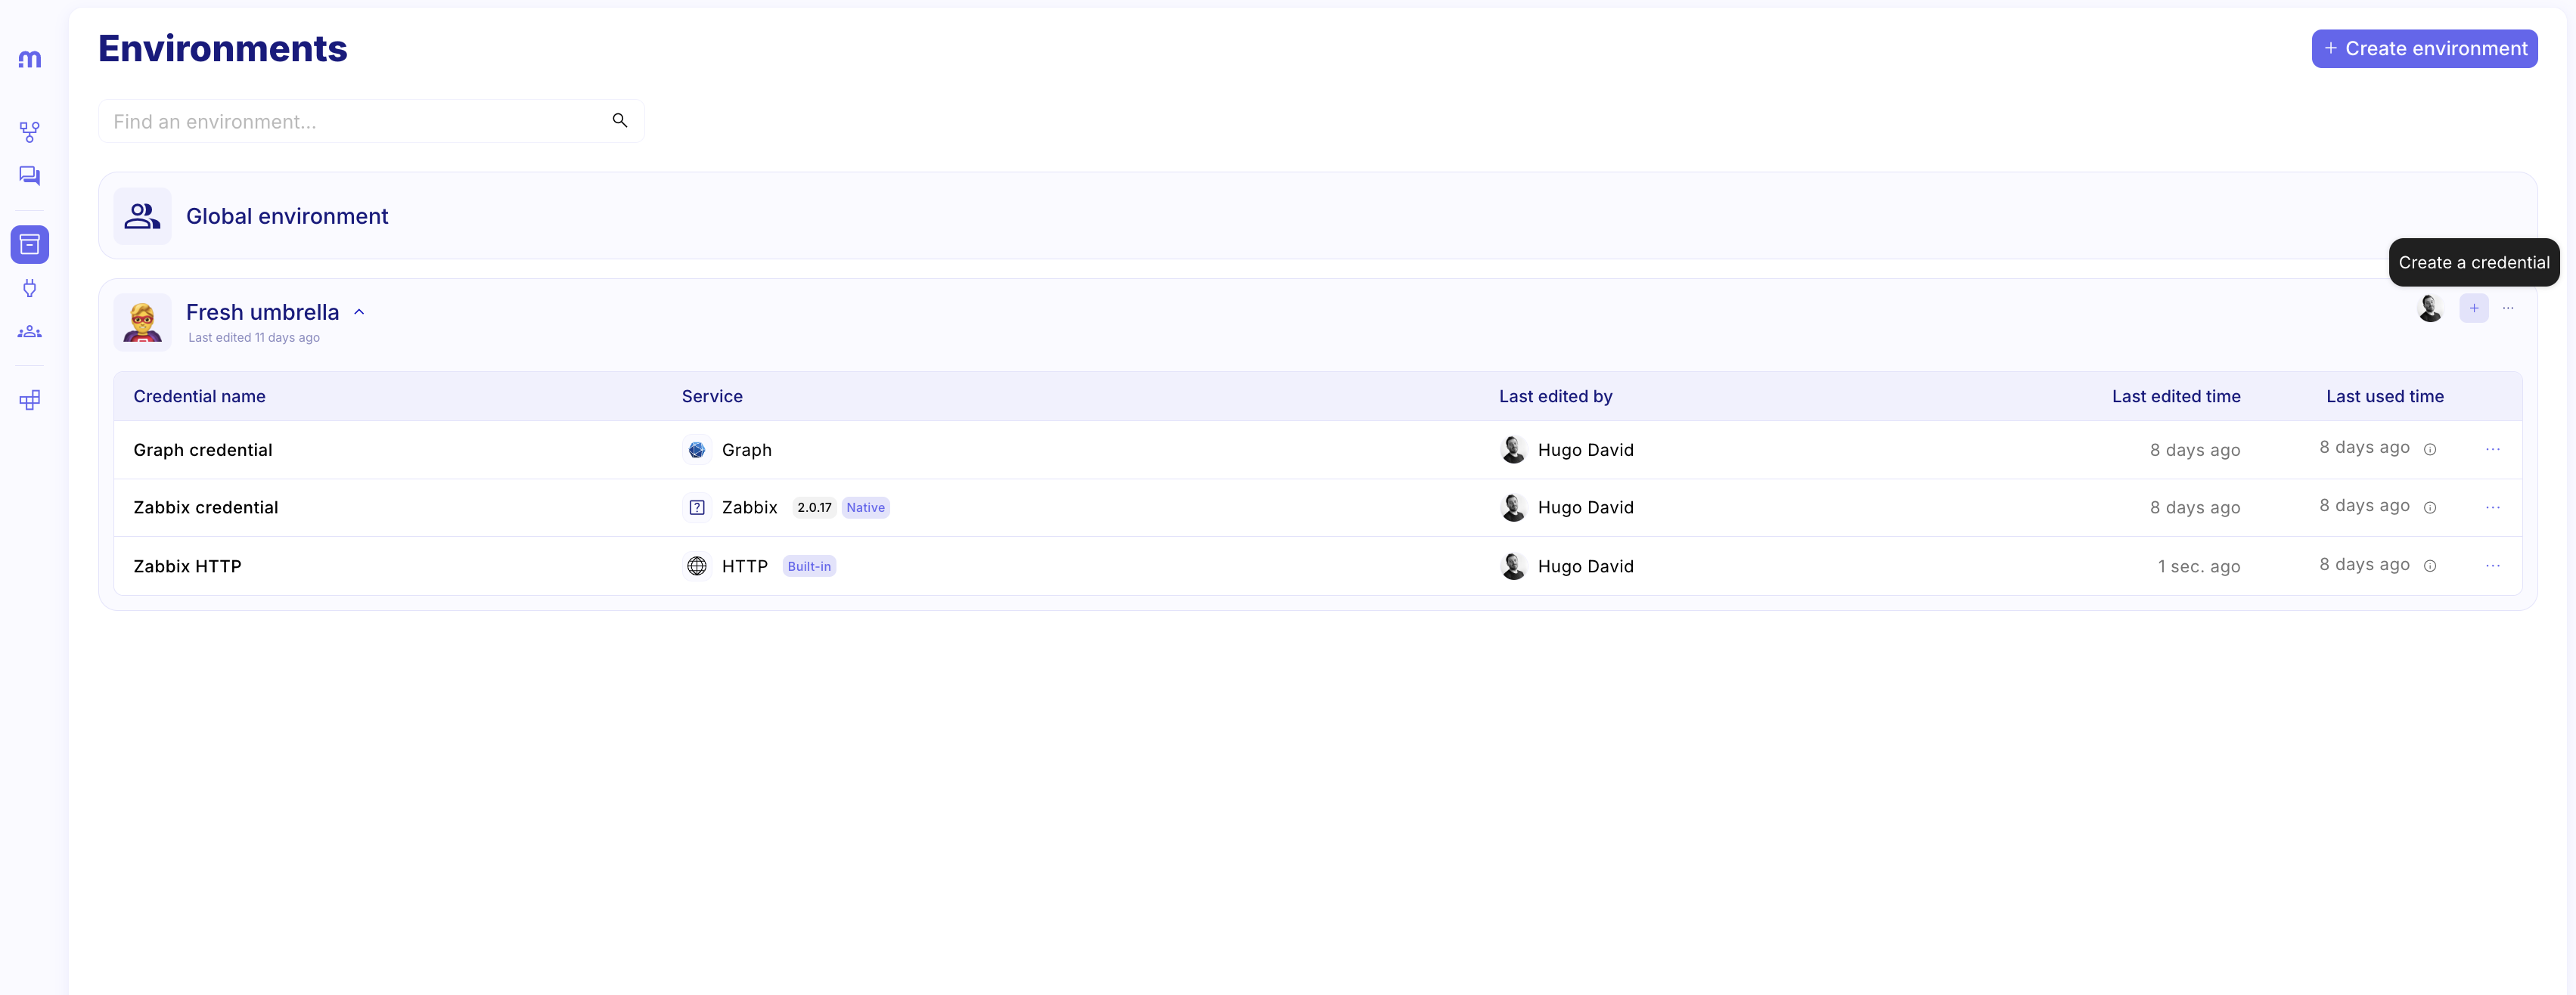
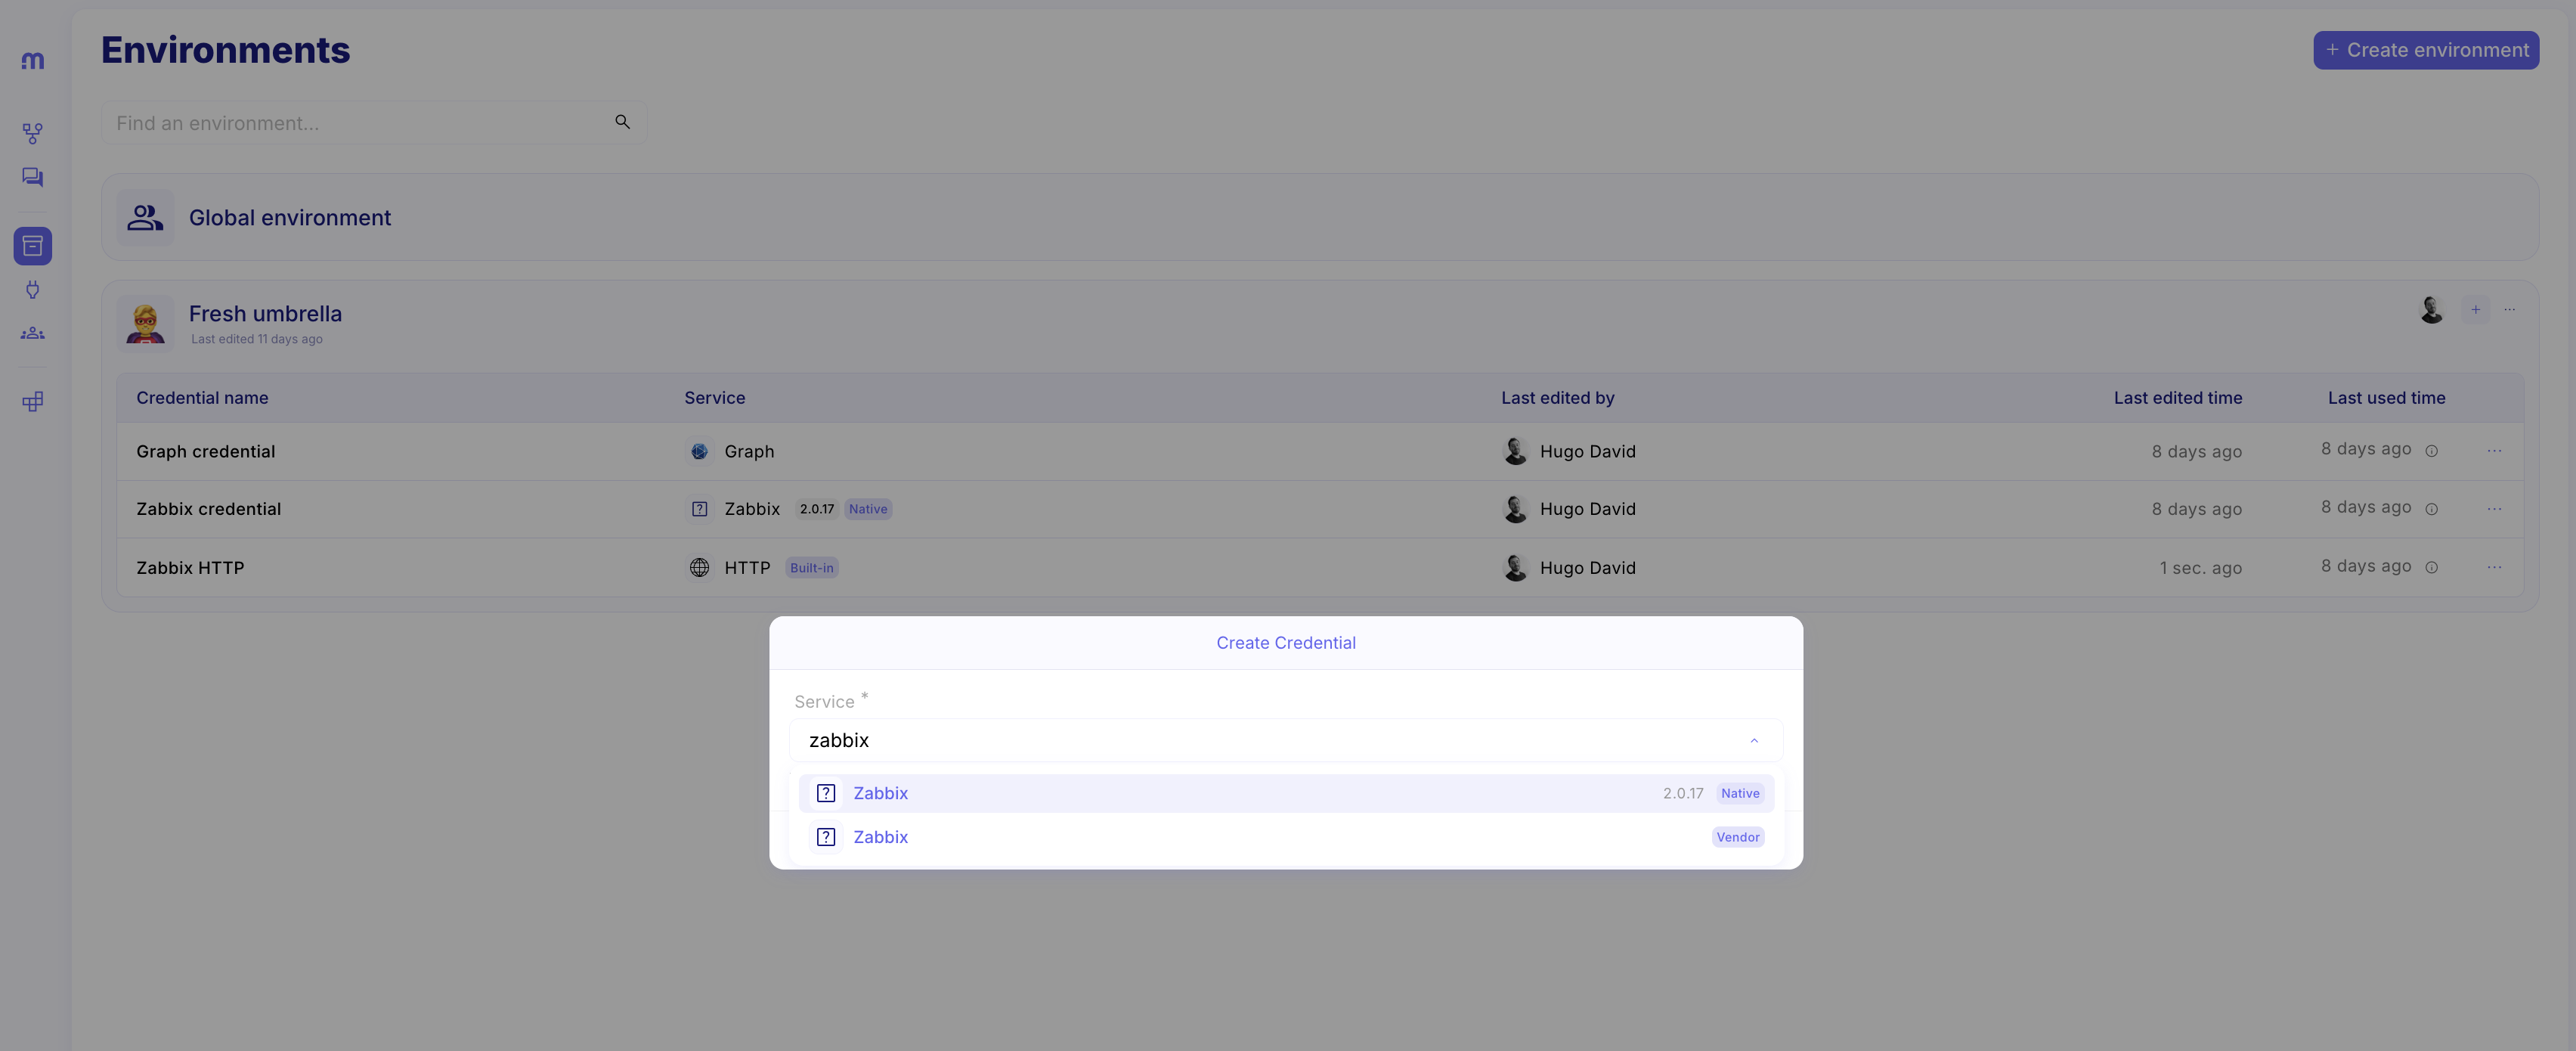
Within the window the search interface in the Create Credential modal. Search for “zabbix” as shown below.
2. Fill Out Credential Details
Section titled “2. Fill Out Credential Details”Mindflow will open an integration-specific form to configure the connection. You must complete the required fields marked with an asterisk (*). Refer to the configuration screen below:
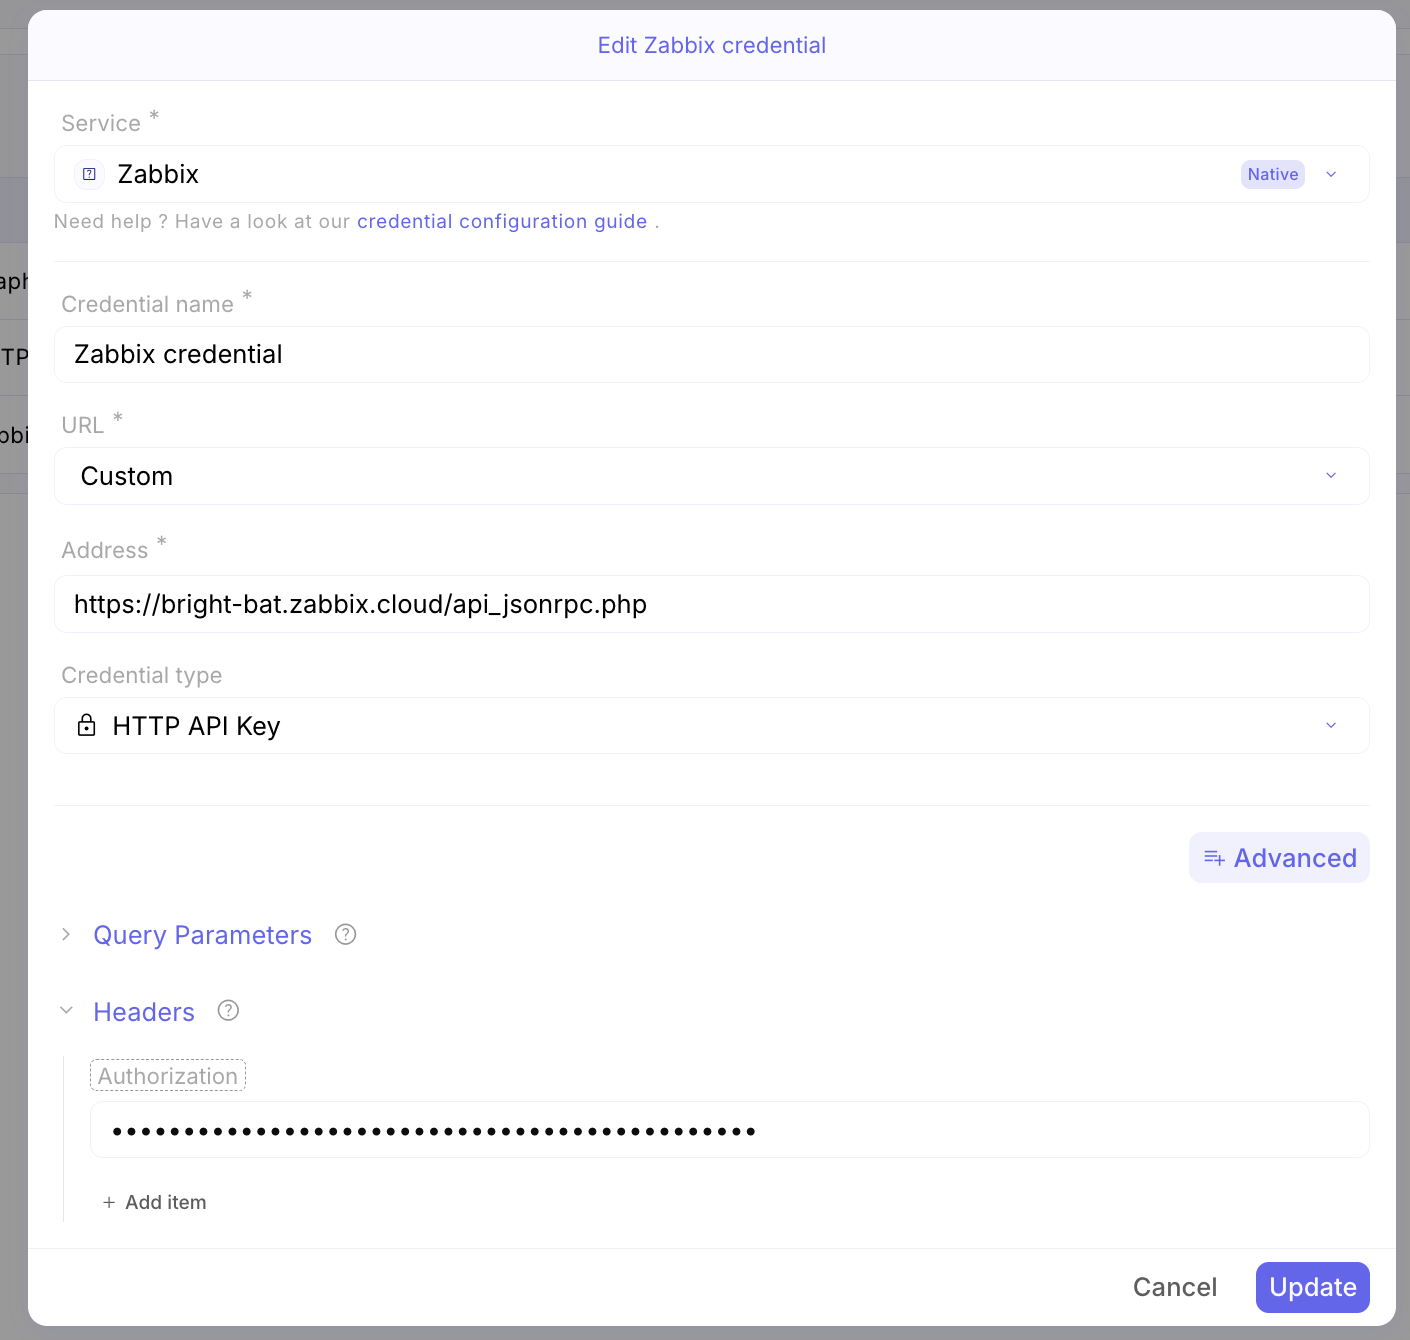
Follow these steps to fill out the form:
Click Update or Create to save the credential securely. It is now ready to be used in your automated workflows.
3. Test the credential
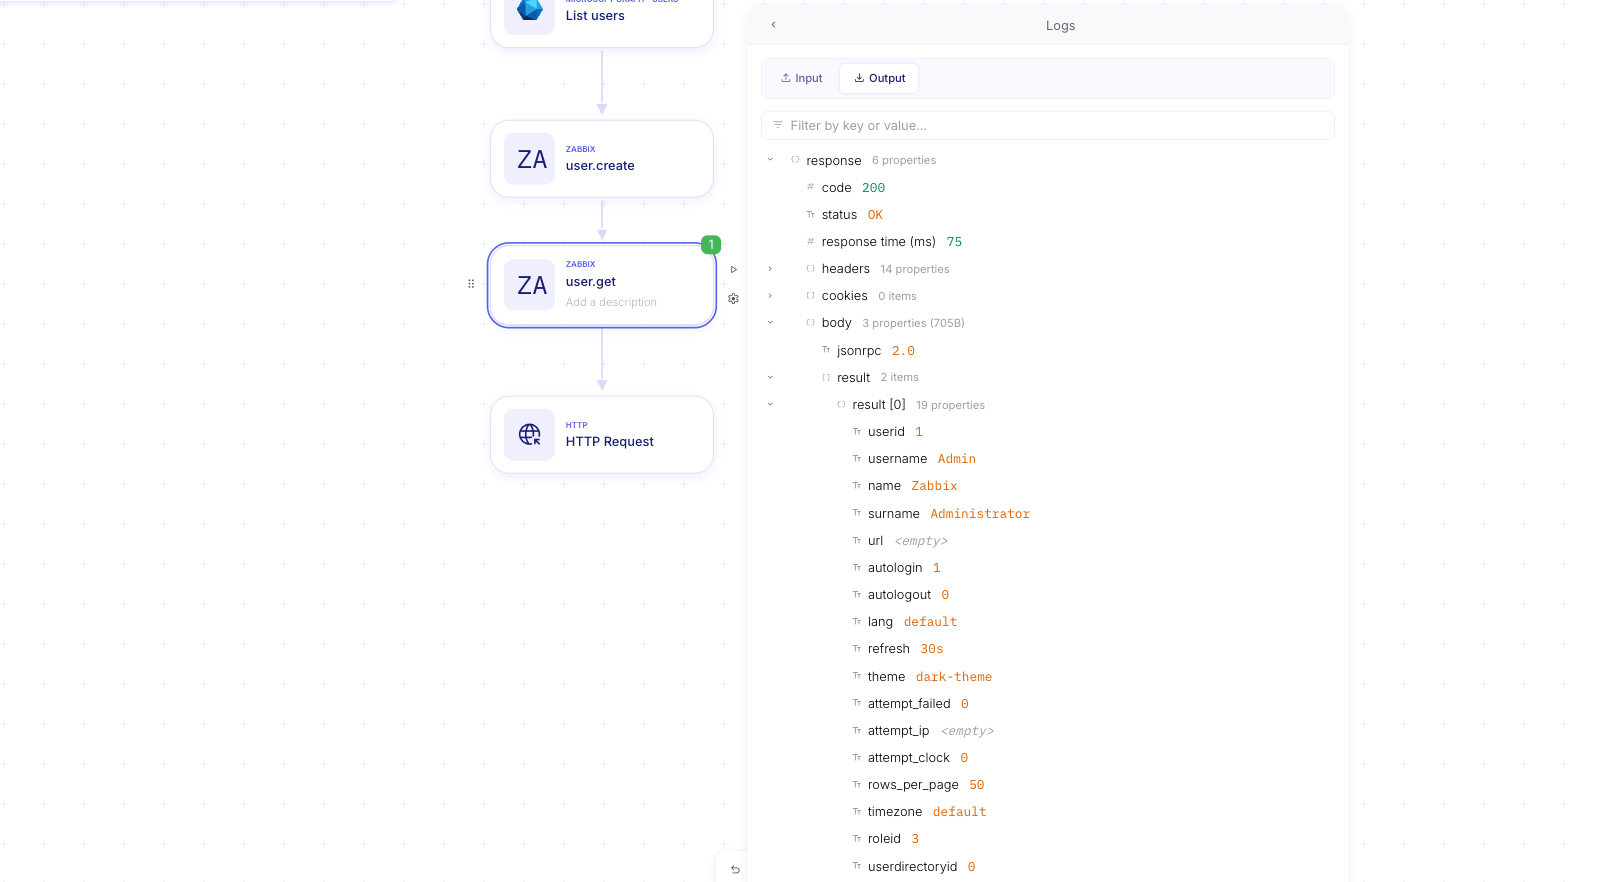
Section titled “3. Test the credential”Once done, head over Flows and, within a test flow, create a step using the Zabbix API connector.
Create a step to an endpoint that should not require any extra configuration, like users.get or map.get.
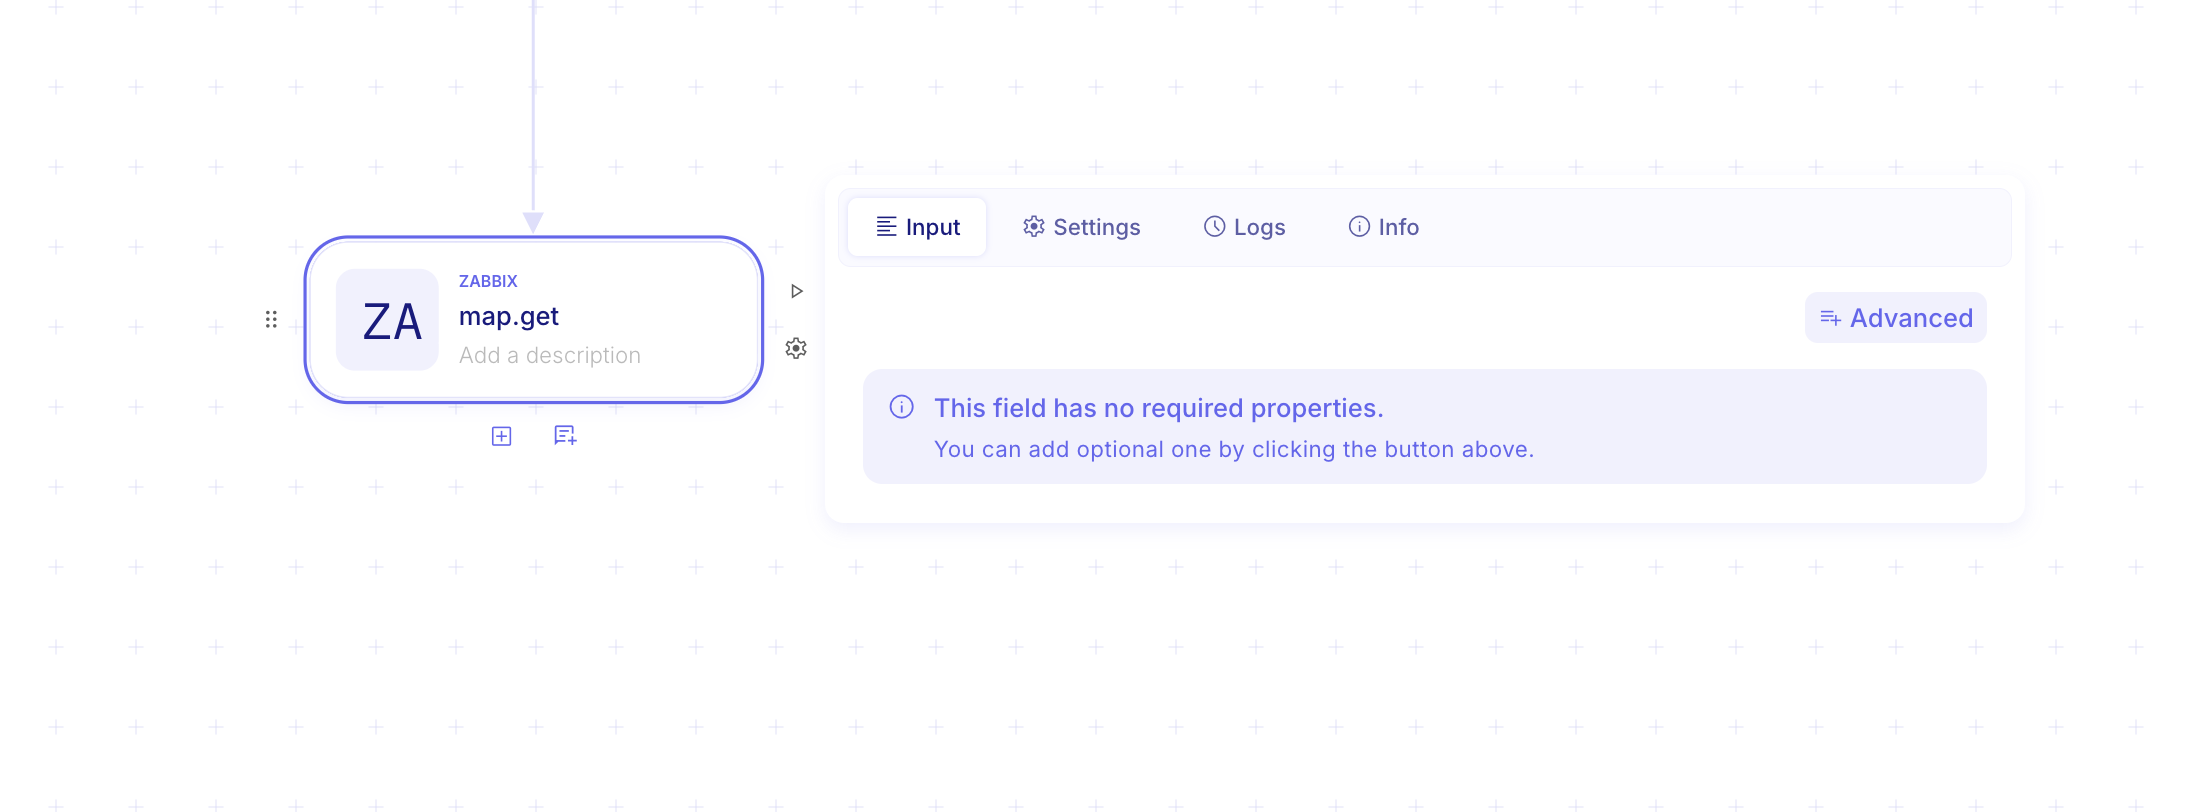
Assign the newly create credential within the Settings tab and click the play icon to trigger a unitary run of this step. If the pill turns green the integration is properly configured.