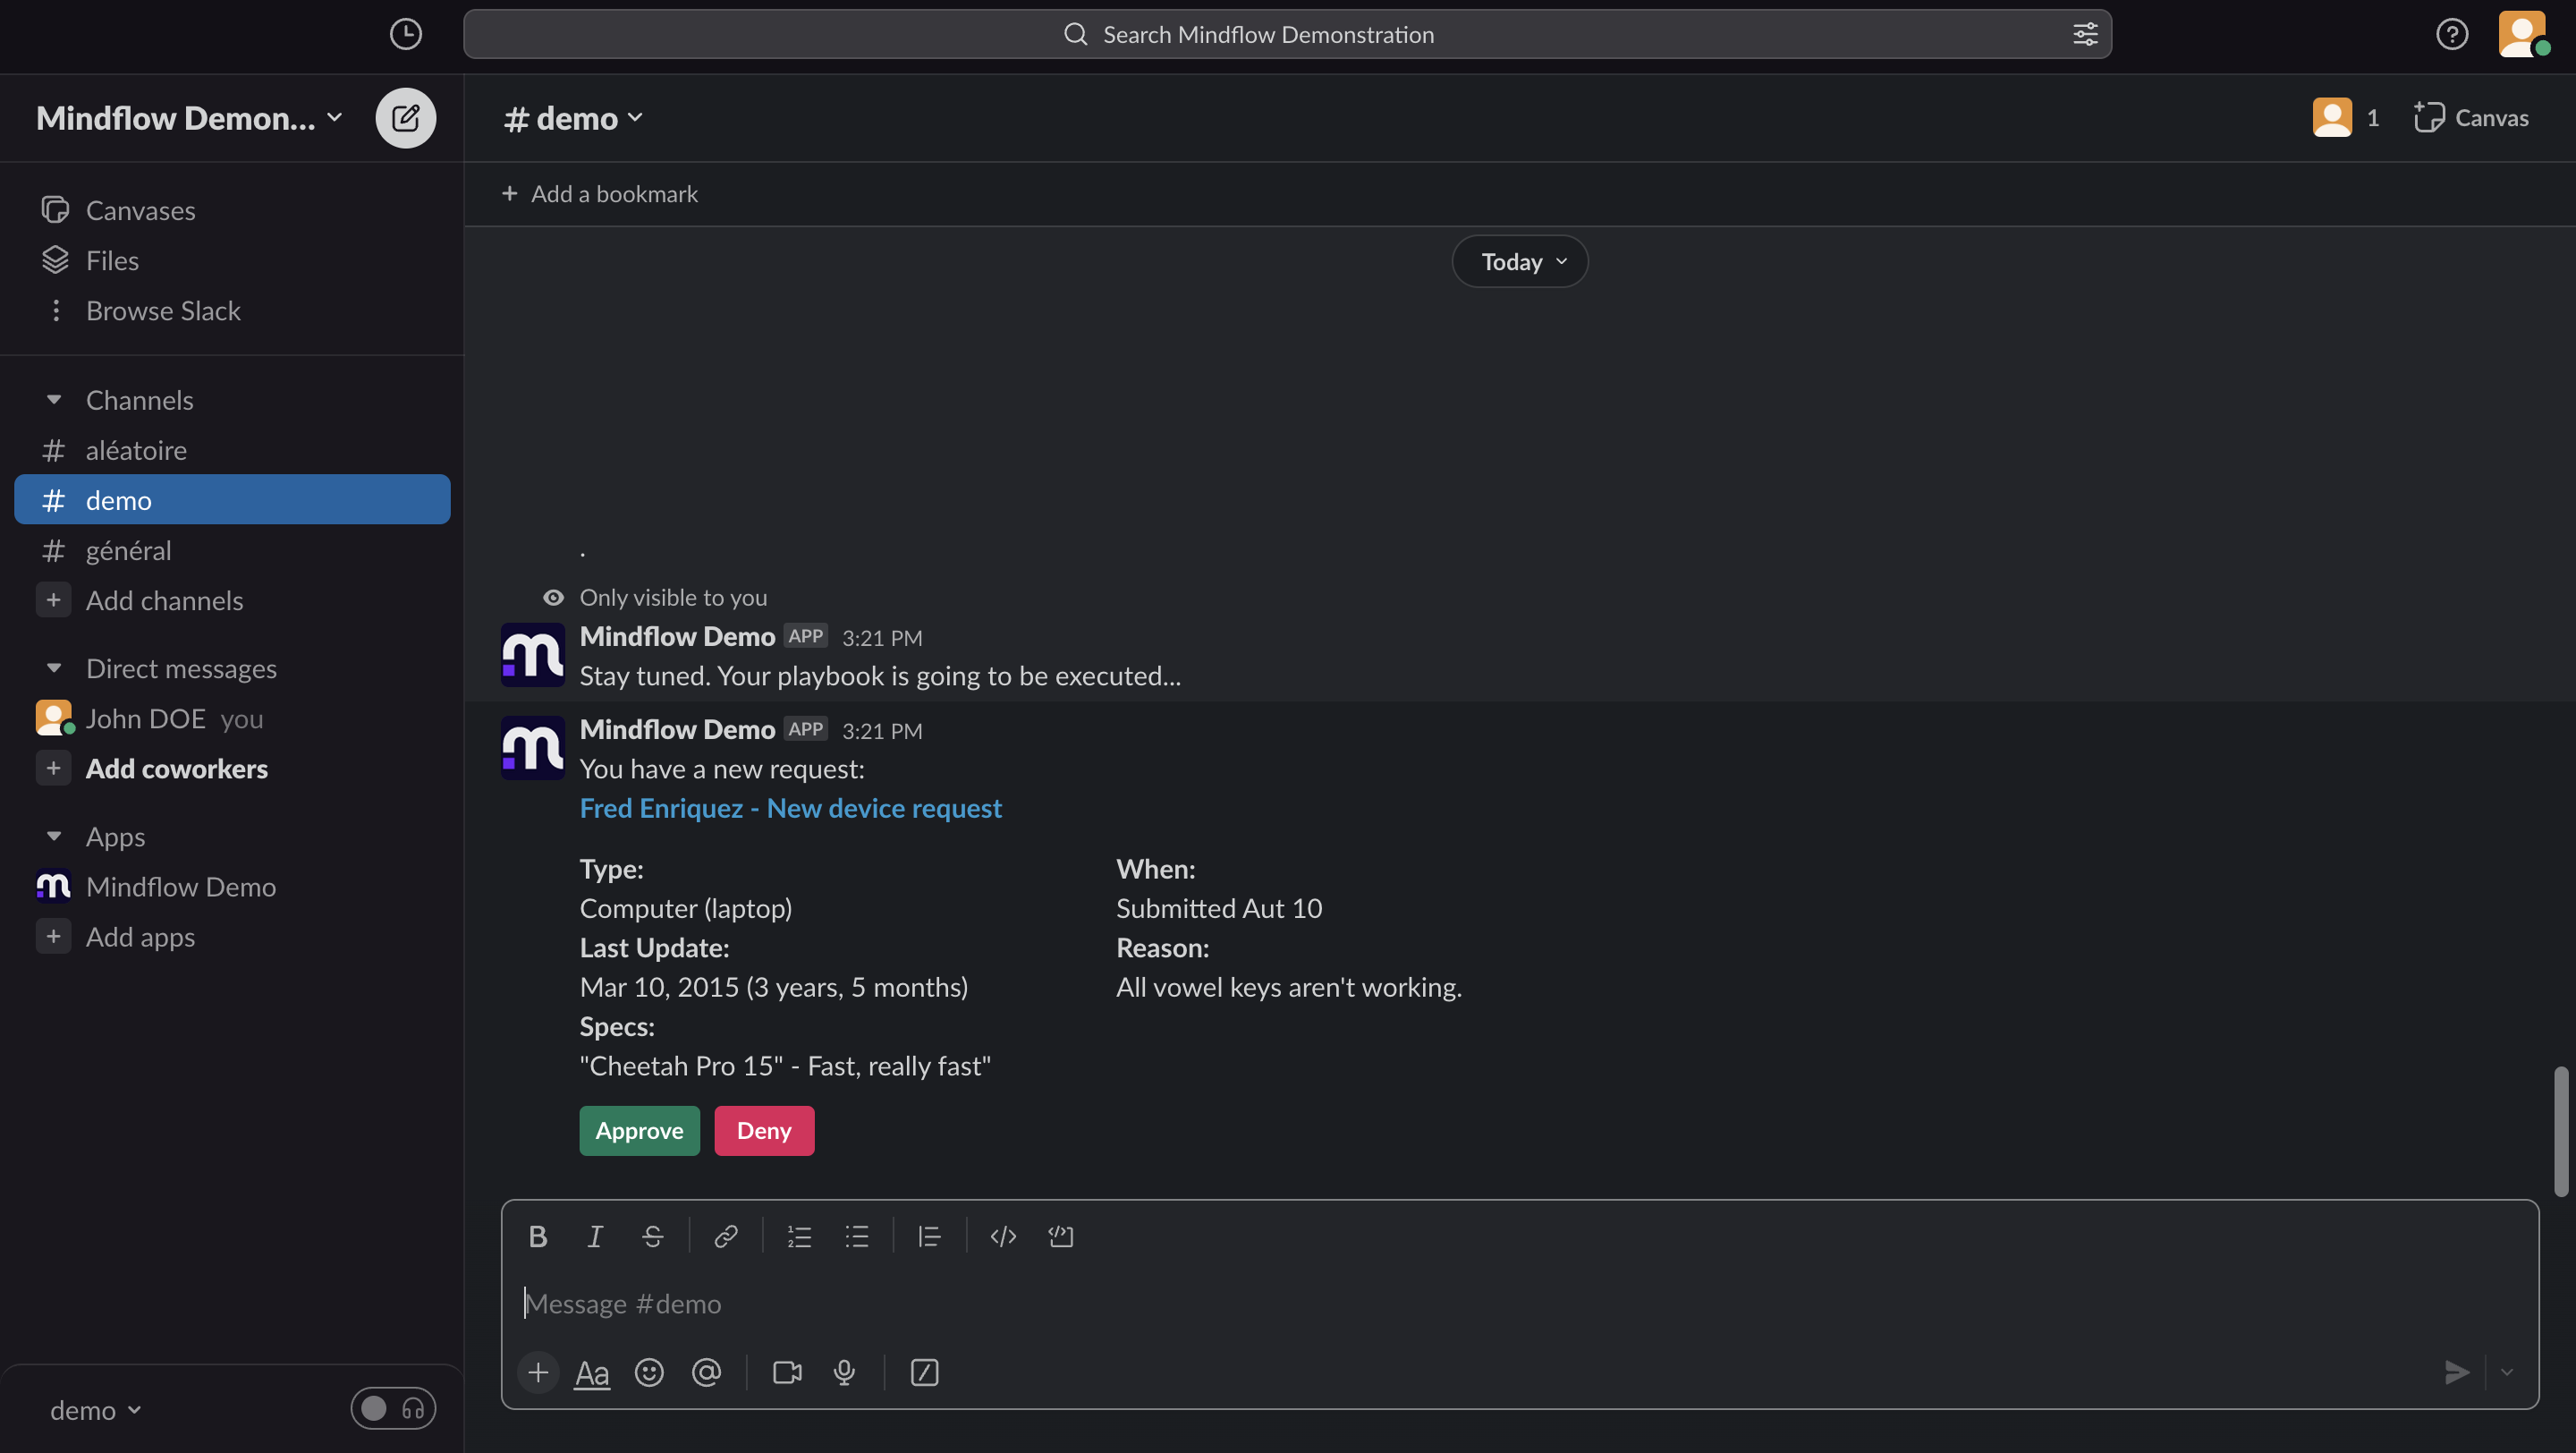
How to configure Slack Bot
Integrating Slack with Mindflow allows you to receive notifications, share updates, and trigger actions directly within your Slack workspace, improving collaboration and efficiency.
Before you start, make sure you:
- Have an active Slack account.
- Have admin access to your Slack workspace (or request permission from your admin).
- Are logged into your Mindflow account.
1. Create a Slack app
Section titled “1. Create a Slack app”-
Go to the Slack Developer portal: https://api.slack.com/apps.
-
Click on Create new app.
- Choose From scratch.
- Give it a name (e.g., Mindflow).
- Select your workspace.
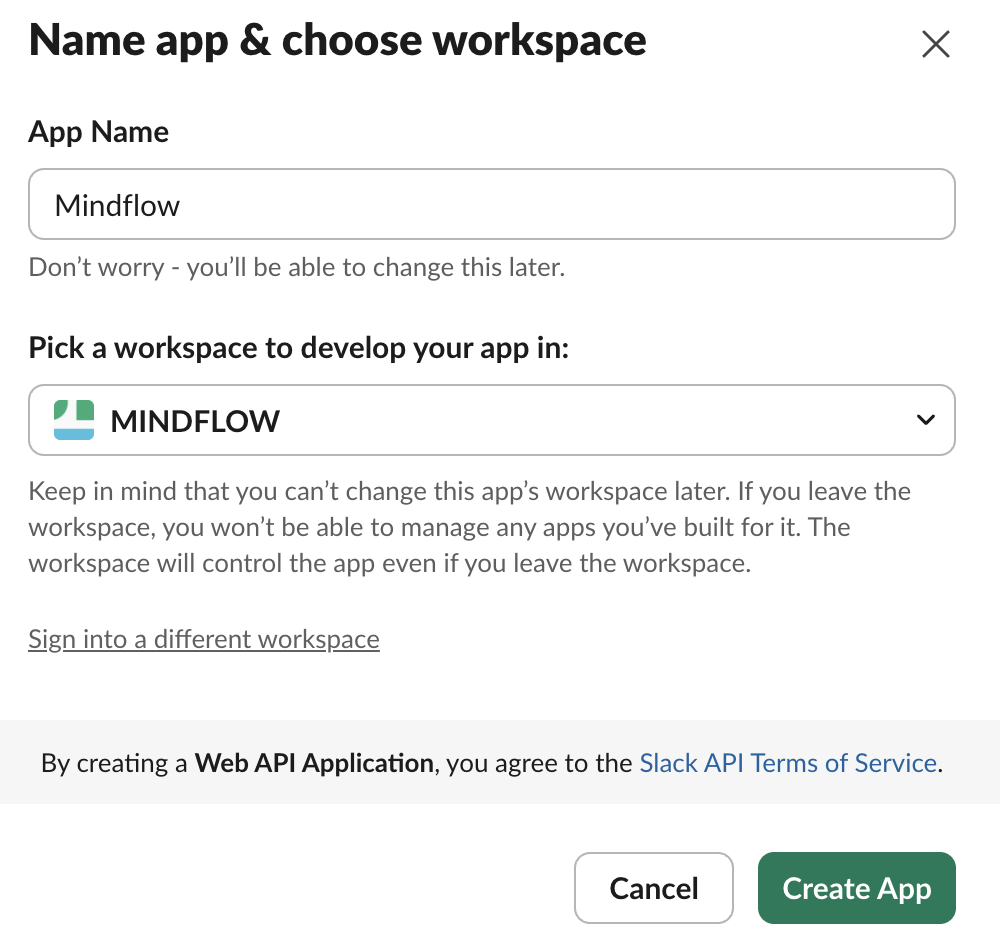
👉 At this stage, you have a “blank” app. You still need to assign permissions and generate a token.
2. Configure permissions (OAuth & Scopes)
Section titled “2. Configure permissions (OAuth & Scopes)”Slack uses scopes (specific permissions).
To add them:
-
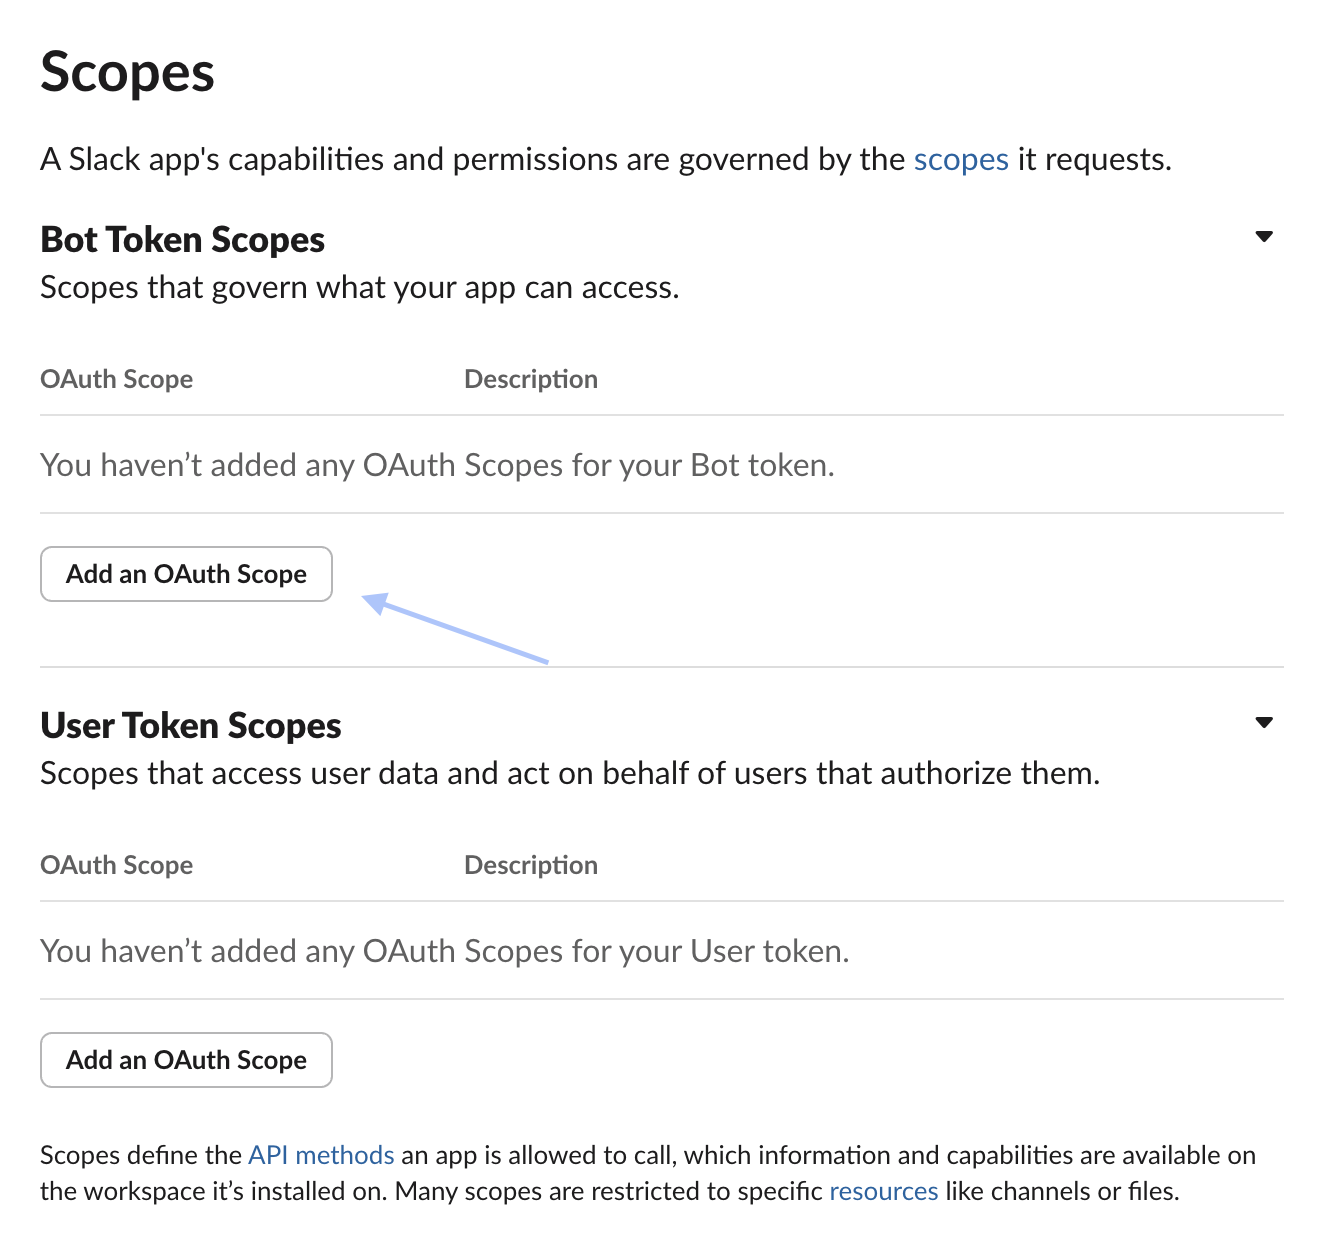
On your app page, go to OAuth & Permissions.
-
Scroll down to Scopes → add the required scopes under Bot Token Scopes.
3. Install the app on your workspace
Section titled “3. Install the app on your workspace”- Still in OAuth & Permissions, click Install App to
<Workspace>. - Accept the permissions.
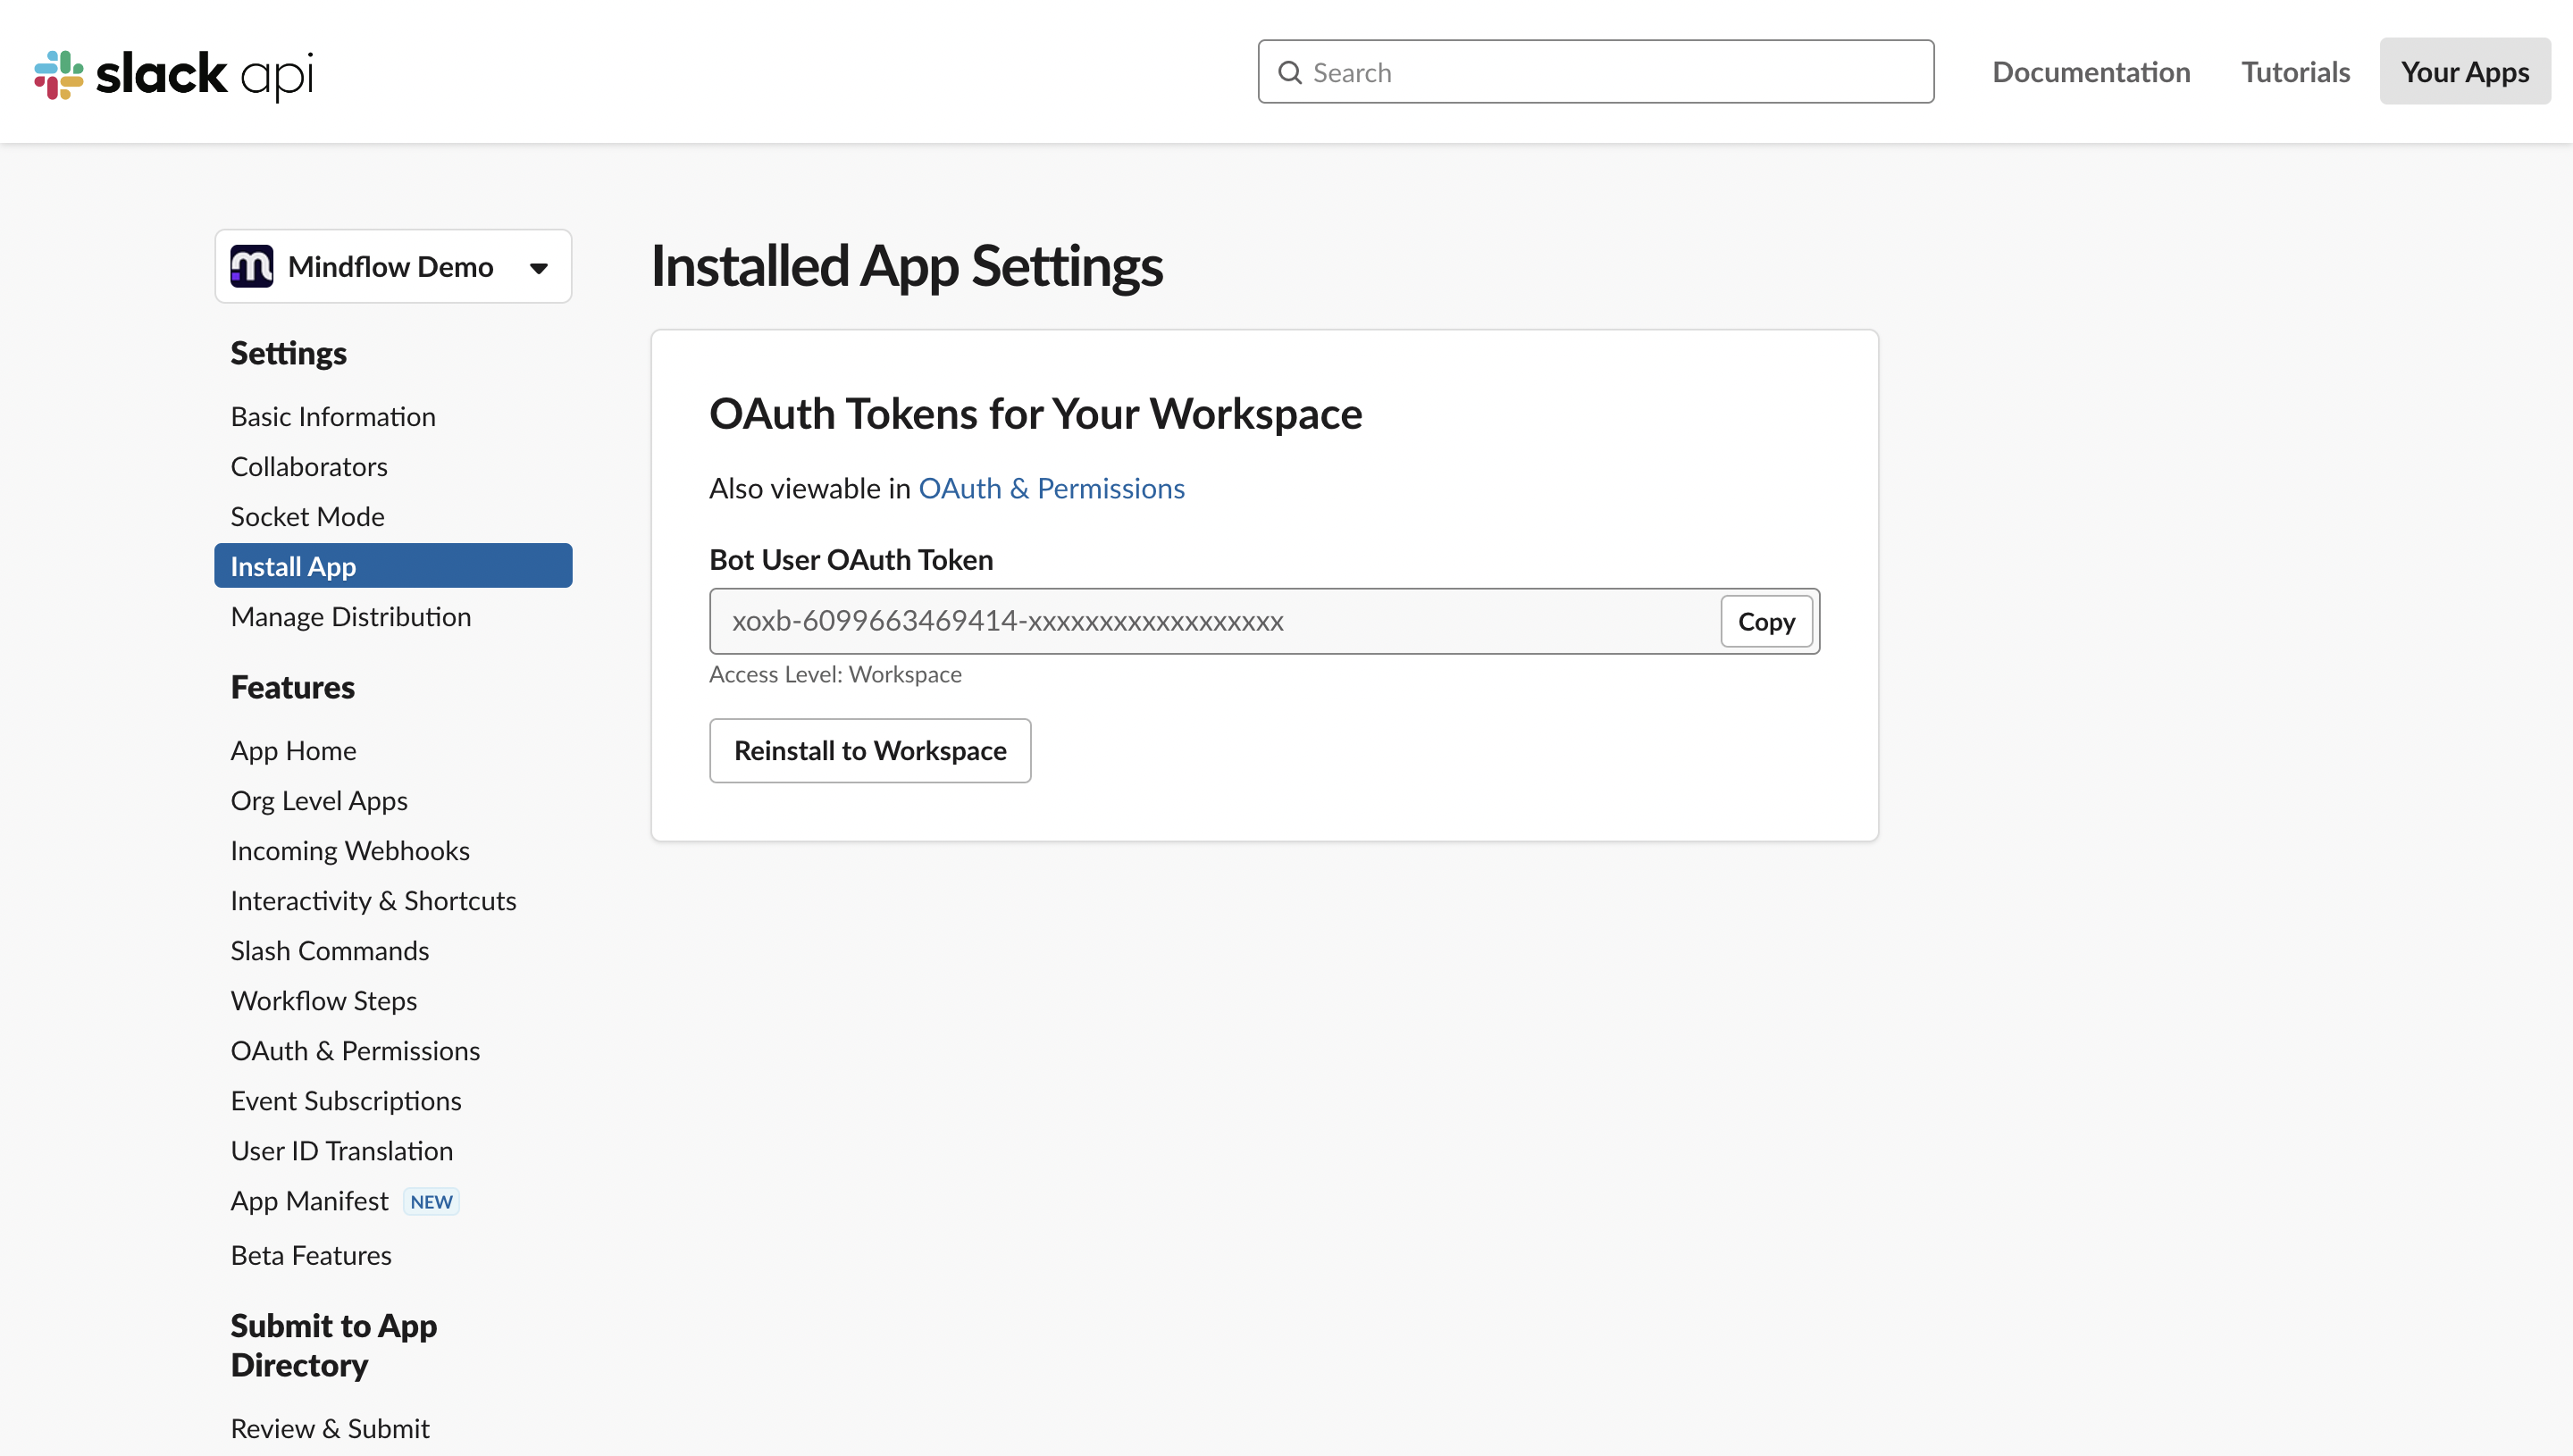
👉 You will return to the OAuth page. There you will see:
- Bot User OAuth Token → starts with
xoxb-...→ this is the API key to paste in Mindflow. - User OAuth Token →
xoxp-..., used in some cases to act “as a user.”
You can now copy the Bot User OAuth Token to this same tab.
4. Add the credentials in Mindflow
Section titled “4. Add the credentials in Mindflow”Reference: Slack Web API Authentication.
-
Copy your Bot User OAuth Token (
xoxb-…). -
In your environment, create a credential for Slack Web.
-
Set Credential type to HTTP Bearer Token.
-
Paste the raw bot token into the Token field (do not add a
Bearerprefix).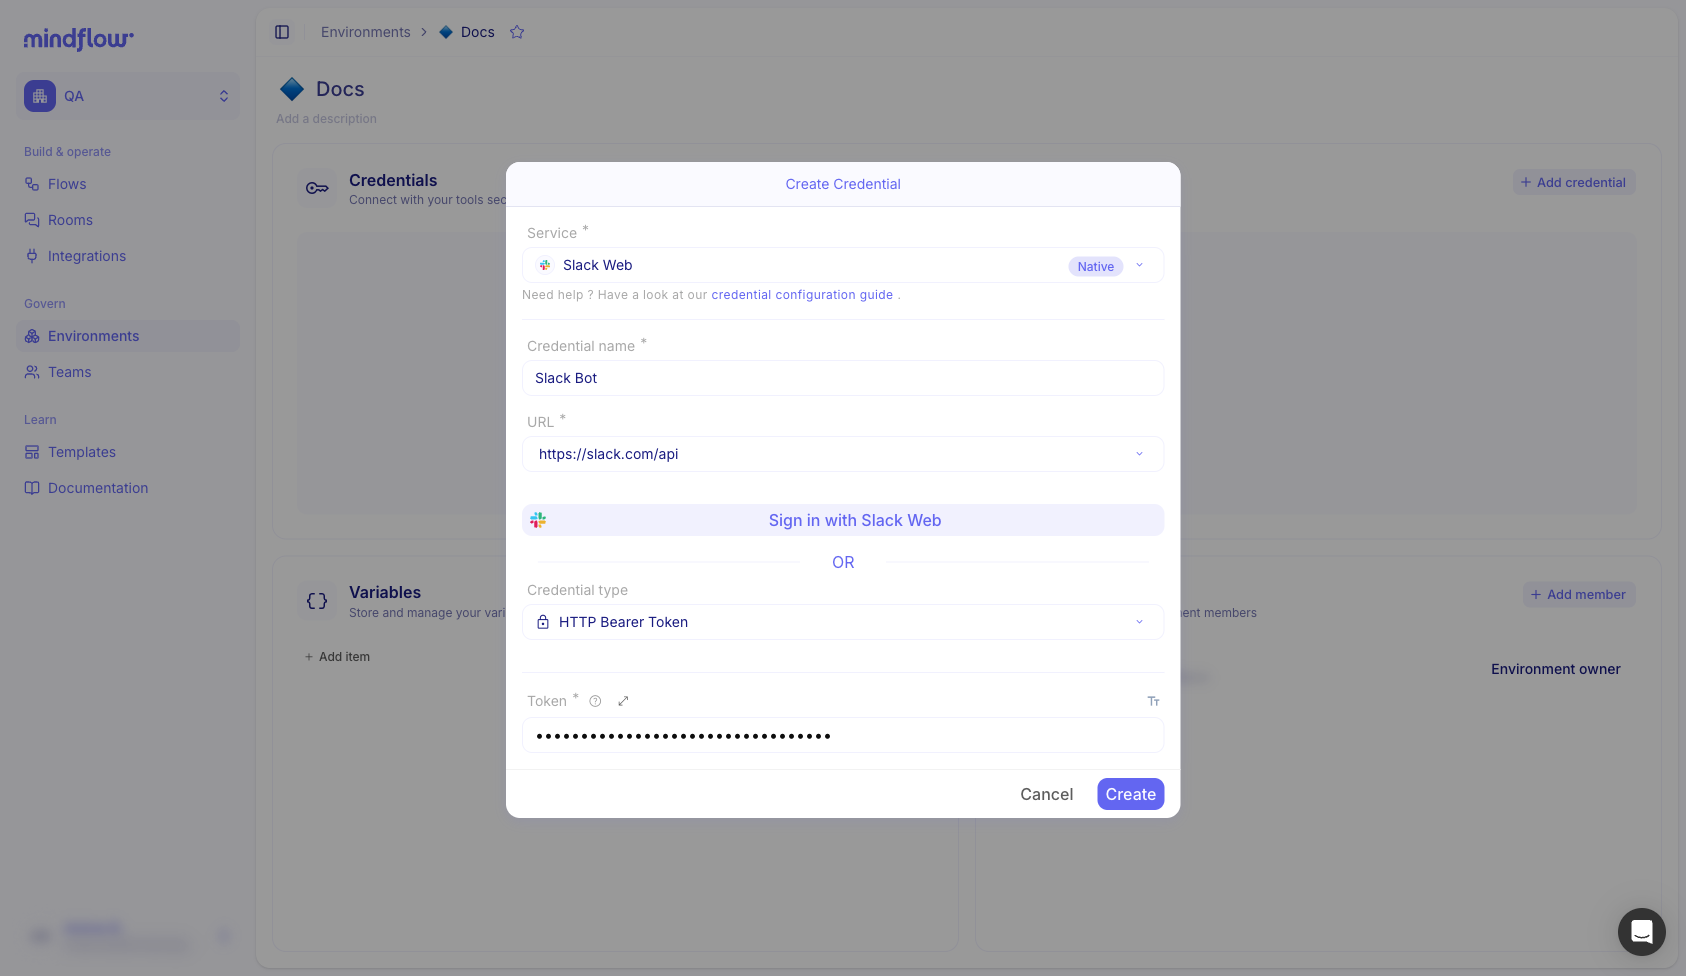
Mindflow stores the token securely and sends Authorization: Bearer … on requests automatically — you do not need to configure headers.
Now that we have our Bot installed and have established authentication, let’s shift our focus to triggers. Slack provides the option to create slash commands that trigger webhooks. Let’s learn how to create a command that triggers a straightforward reply in a public channel.
Build your flow
Section titled “Build your flow”-
Go to the
Slash commandstab and click onCreate New Command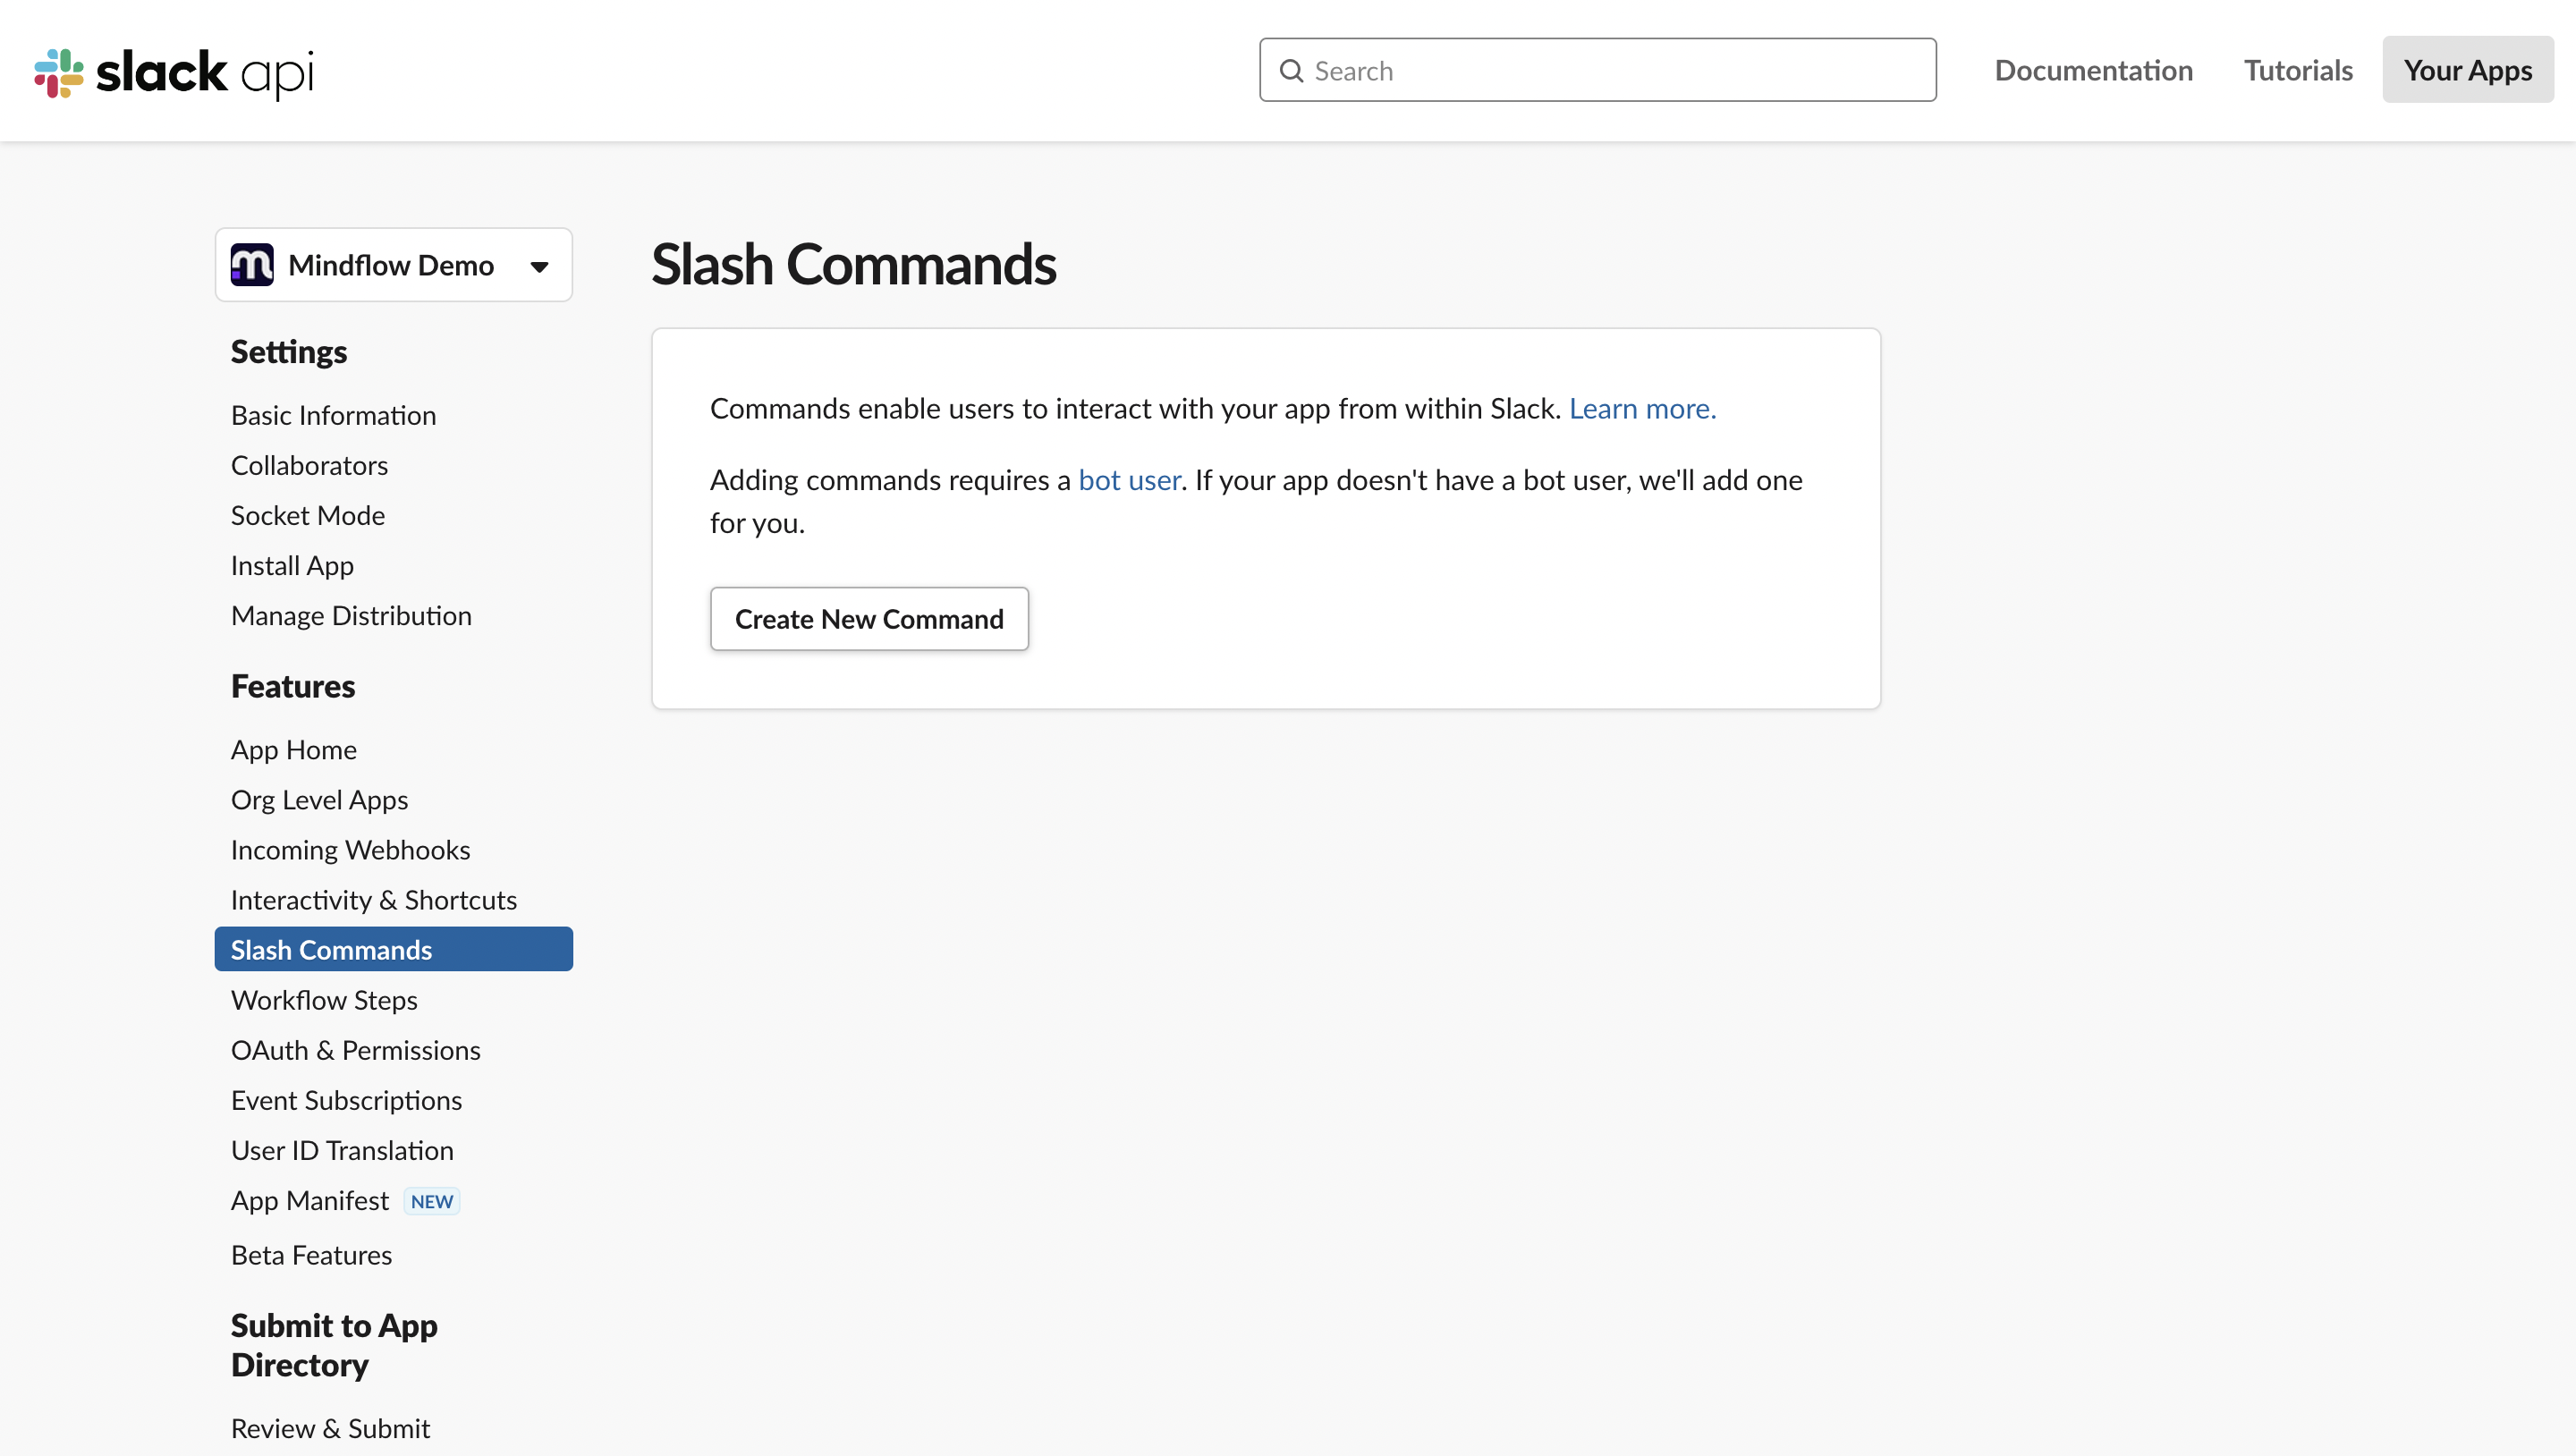
-
Before filling in the required command fields, go to the flow you wish to trigger with the command, choose the **
Trigger**in the ****Trigger tab and copy the URL ofAsynchronous.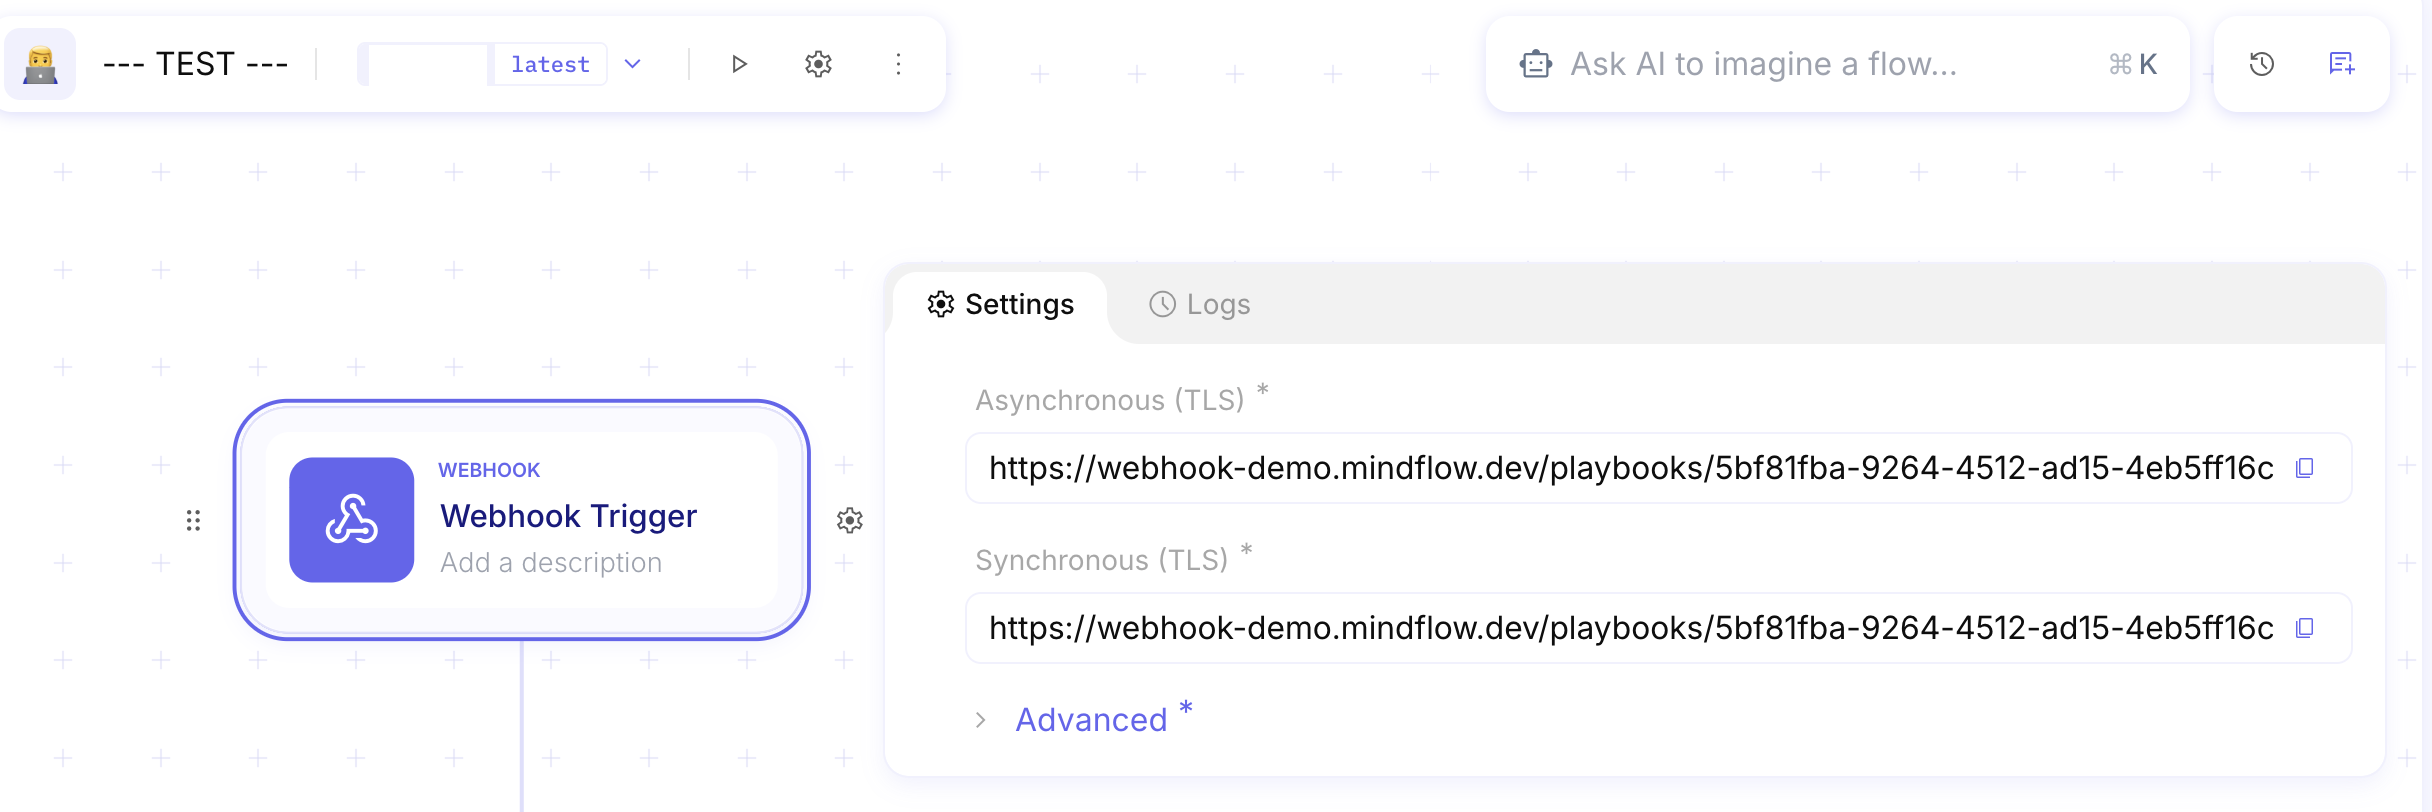
-
Fill in the required fields, paste the webhook in the
Request URLfield and click on theSavebutton.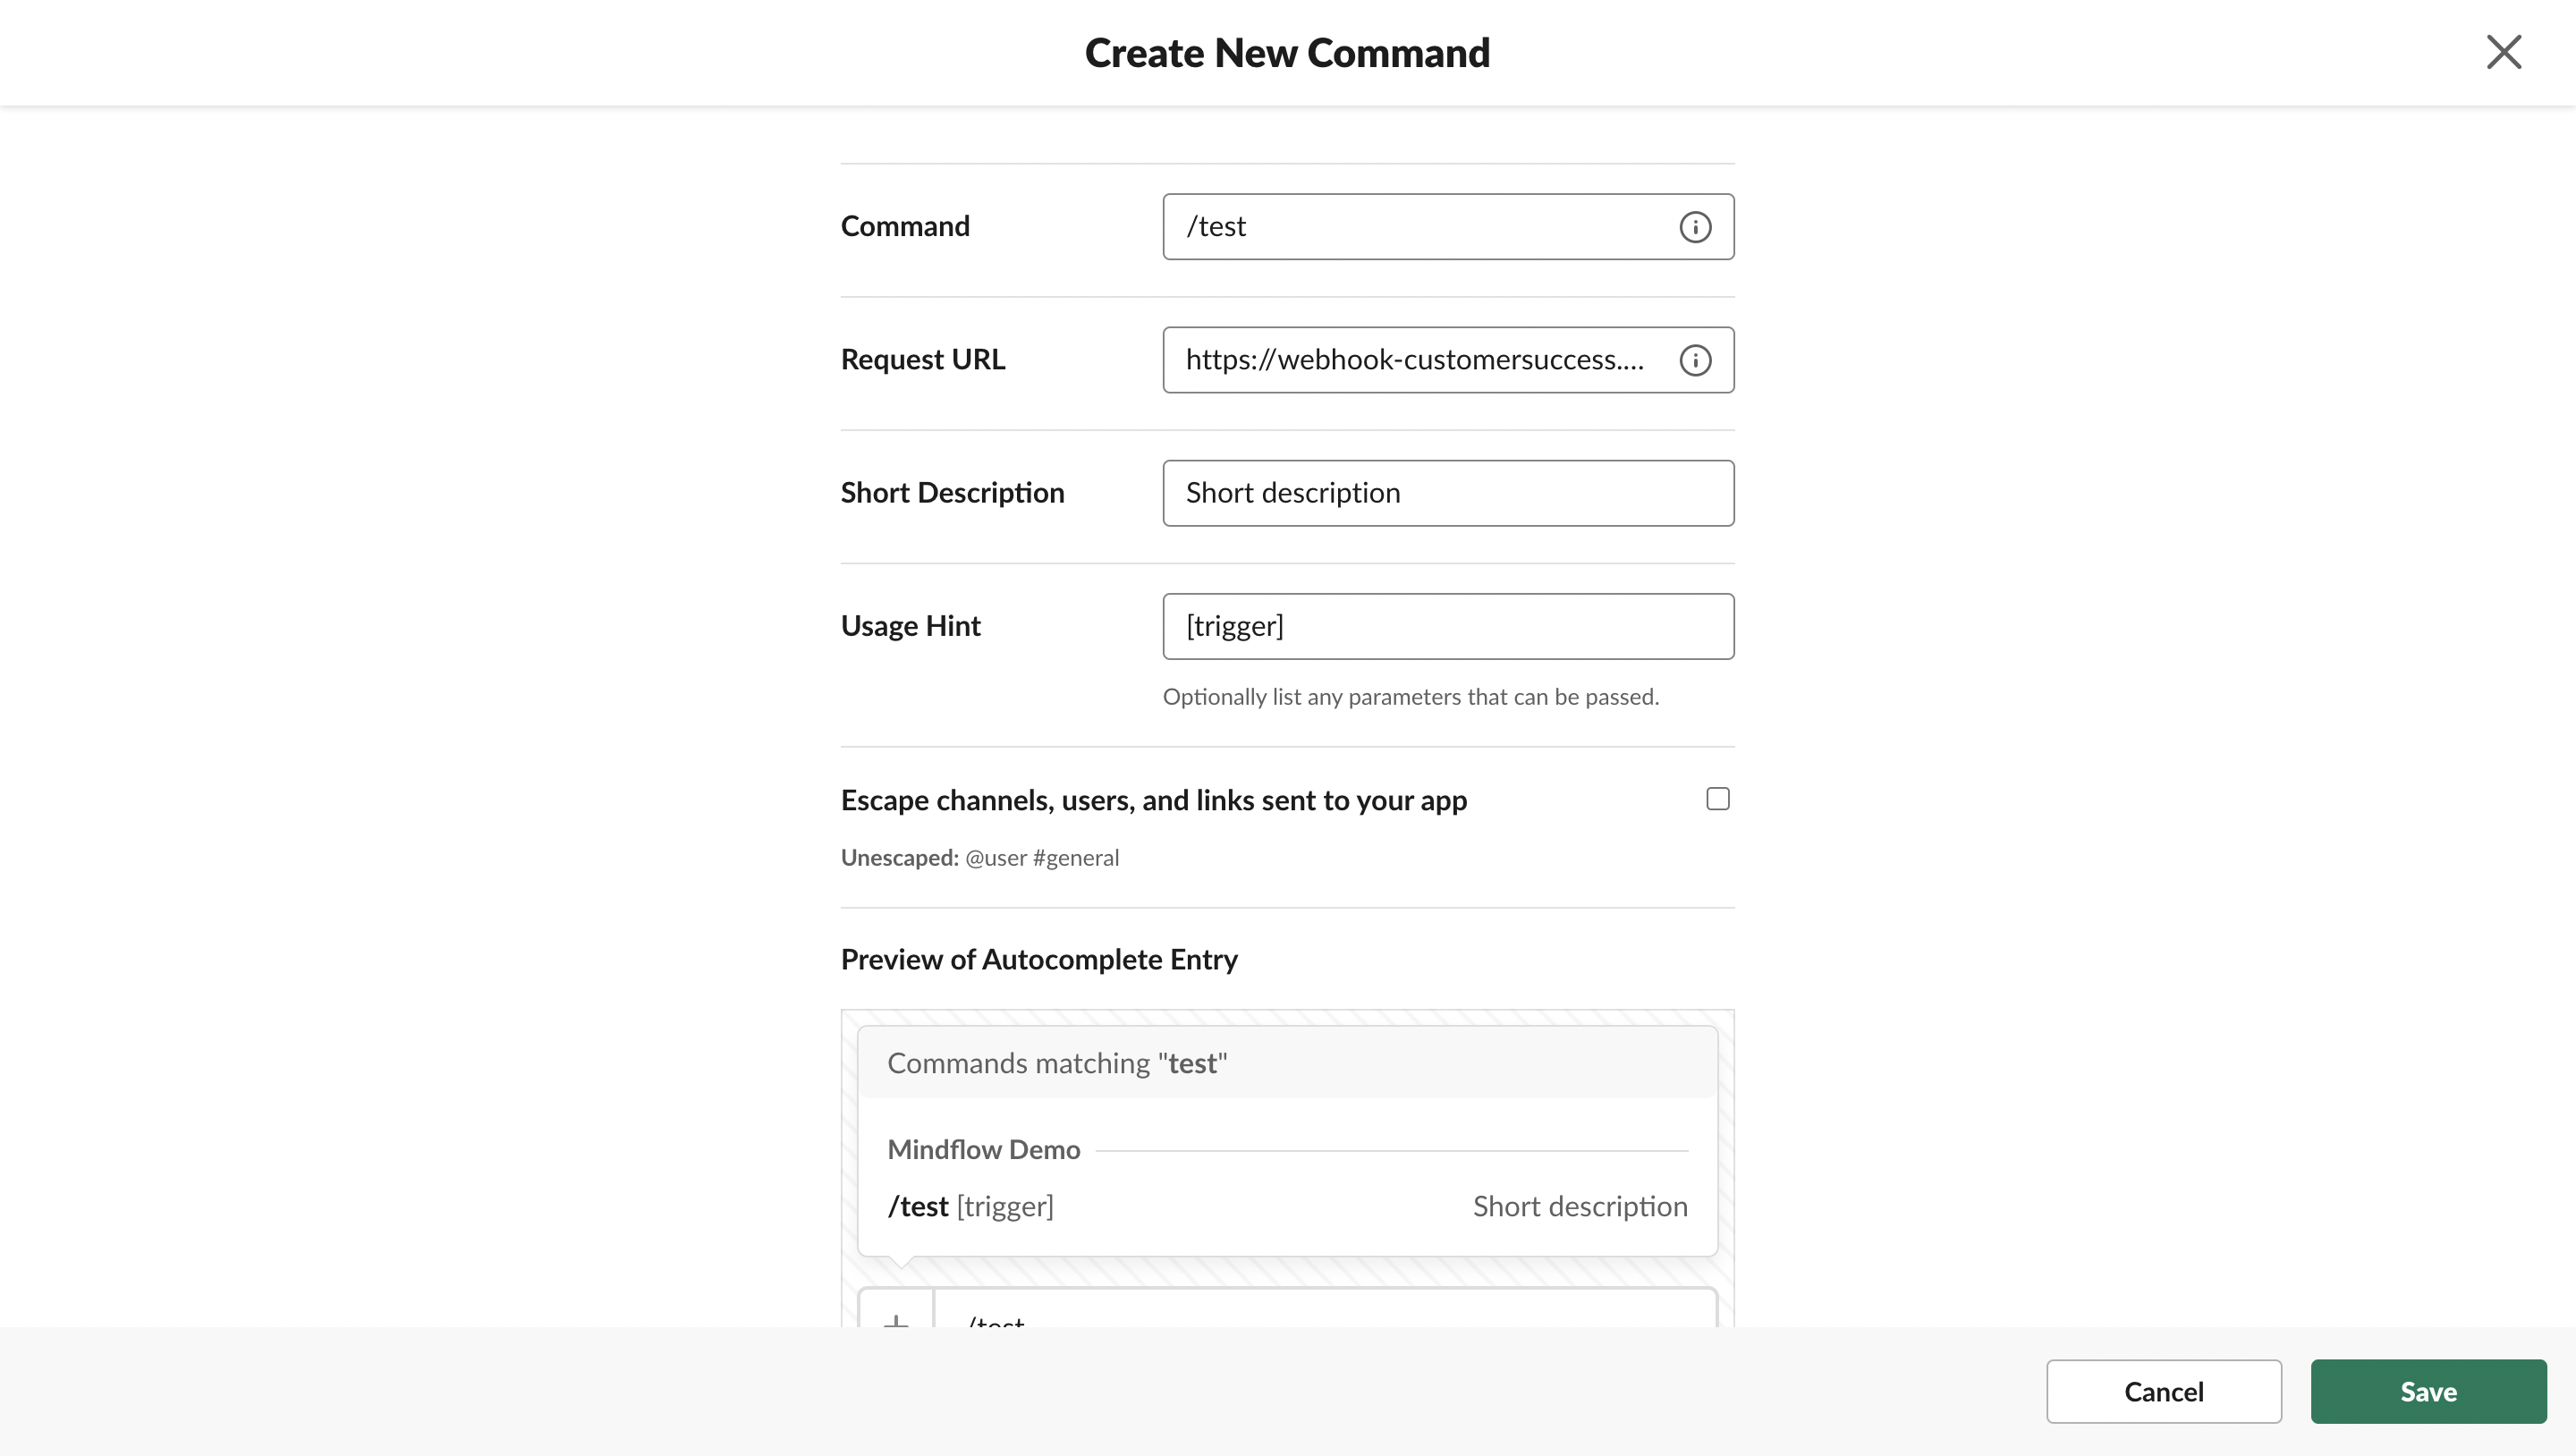
-
Now go back to your target flow, access the steps menu and add Slack’s
Sends a message to a channelaction.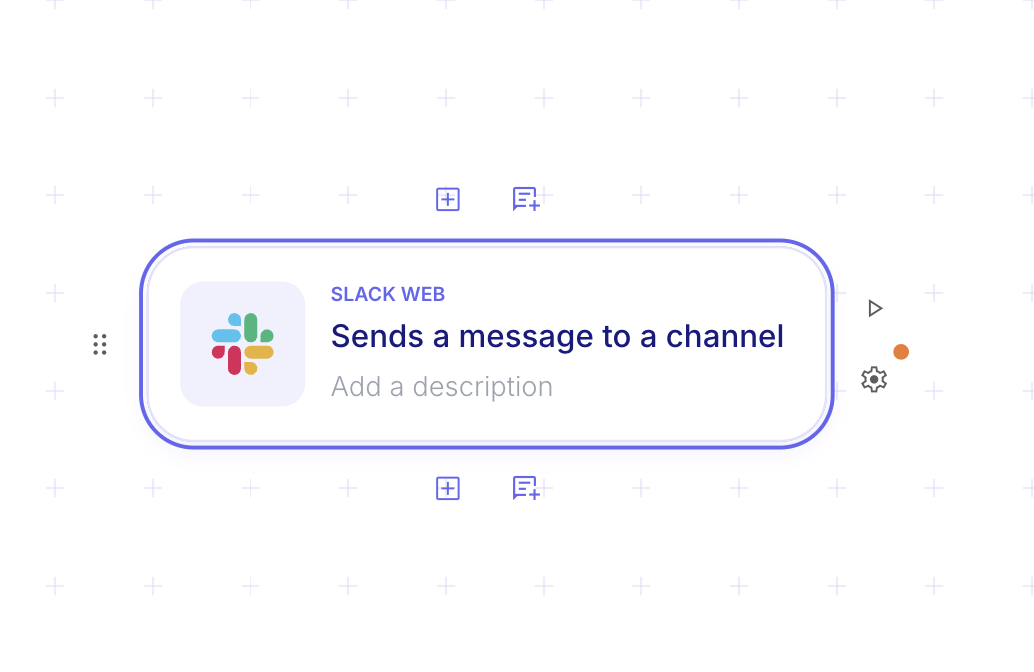
-
Go to your Slack space, right-click on the channel where you want the bot to respond, select
Show channel informationand copy theChannel ID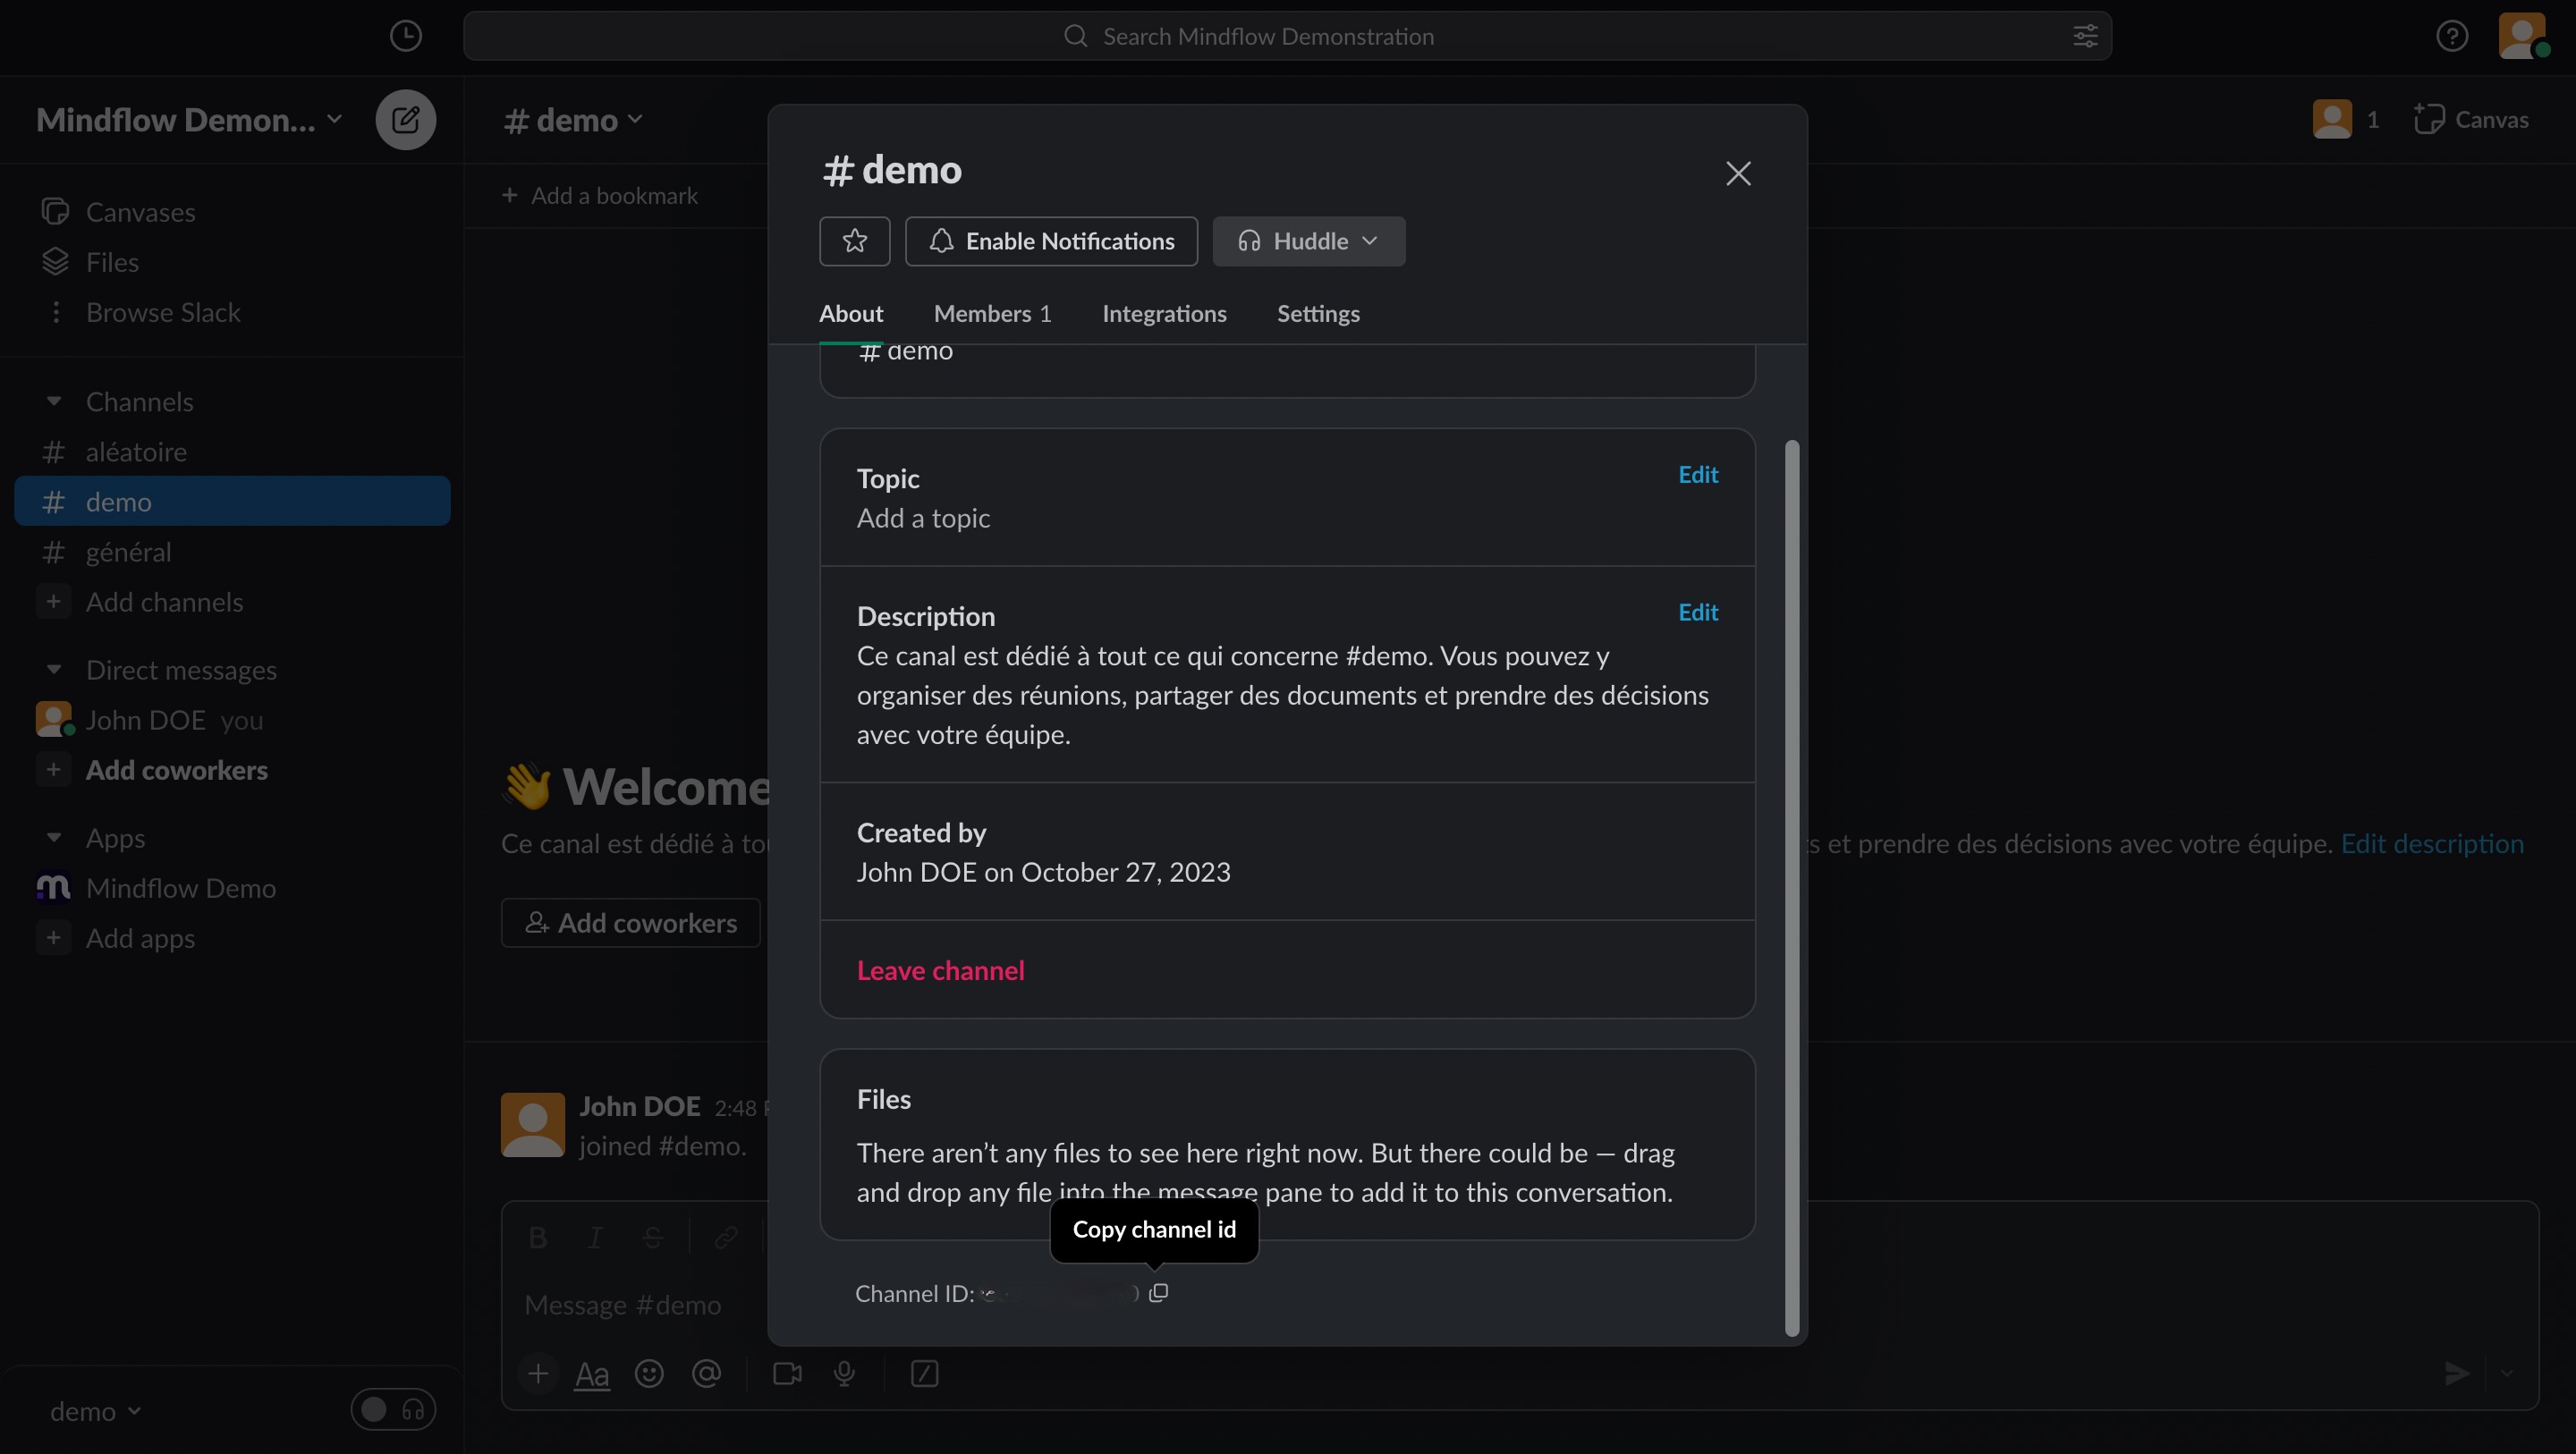
-
We’re now going to write the message that the bot will send in response to our slash command. Go to app.slack.com/block-kit-builder/ and click on
Templates.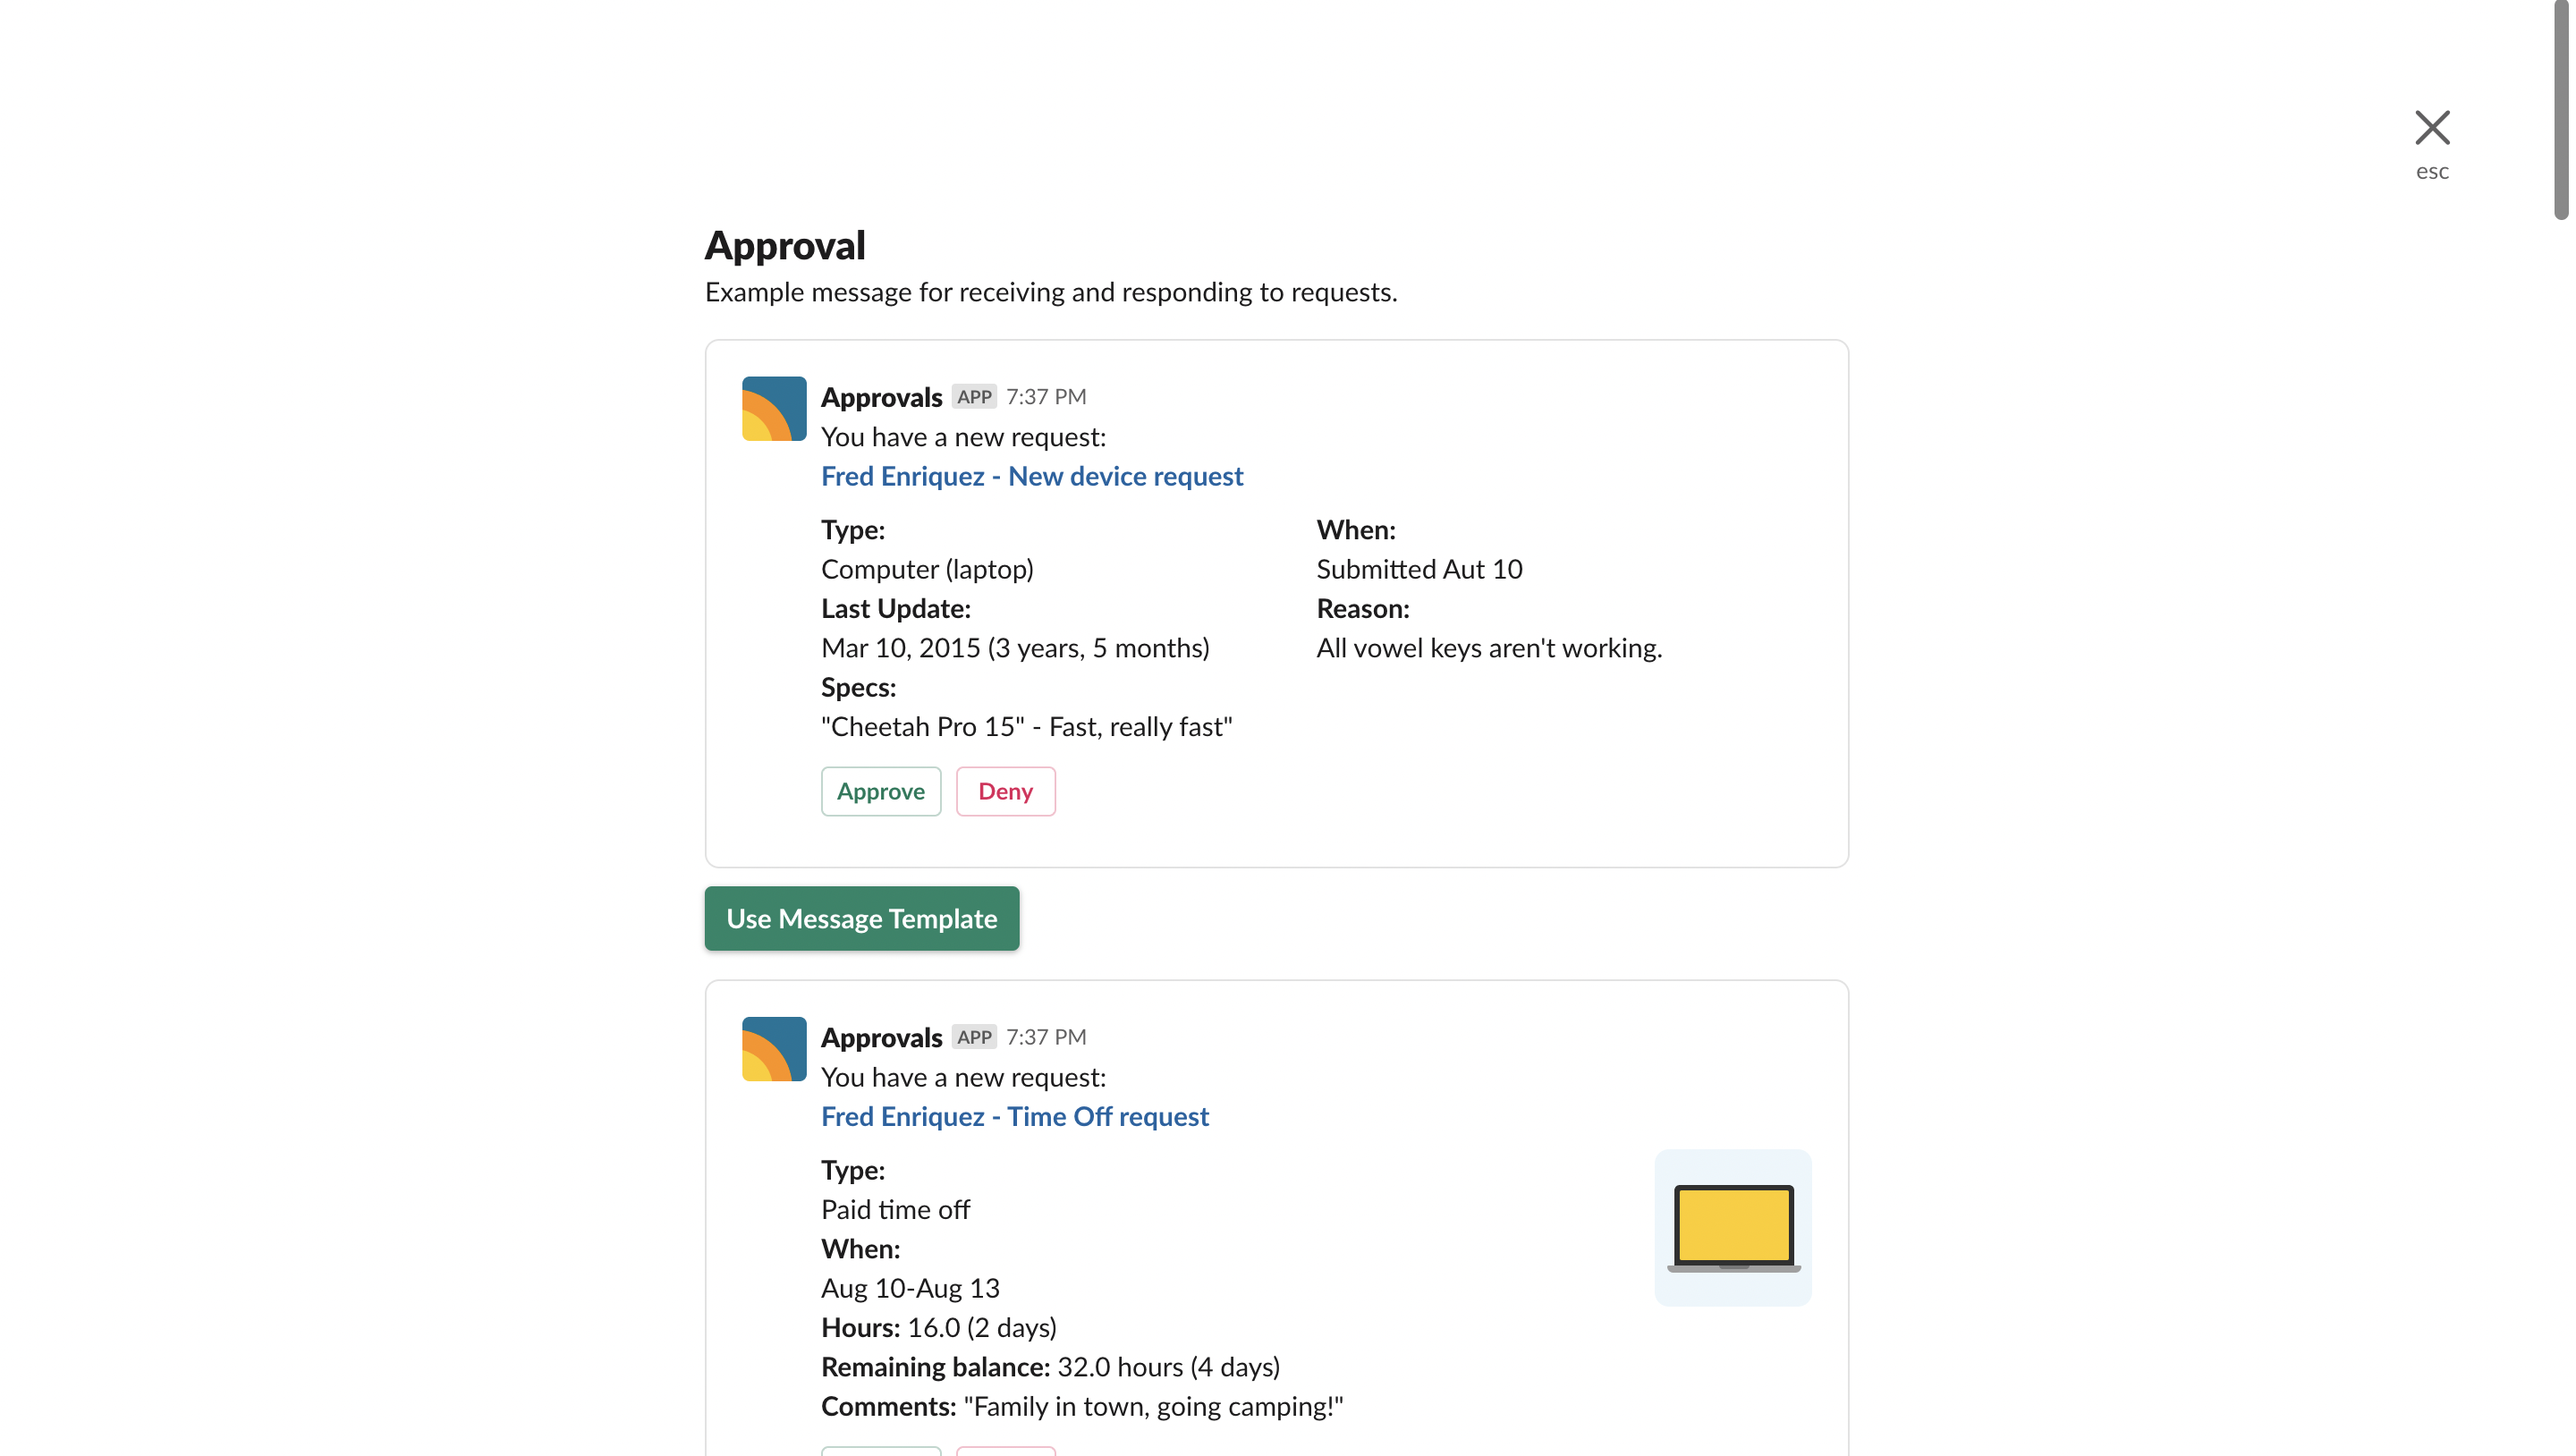
-
Select the first template by clicking on
Use Message Templateand copy the configuration in square brackets.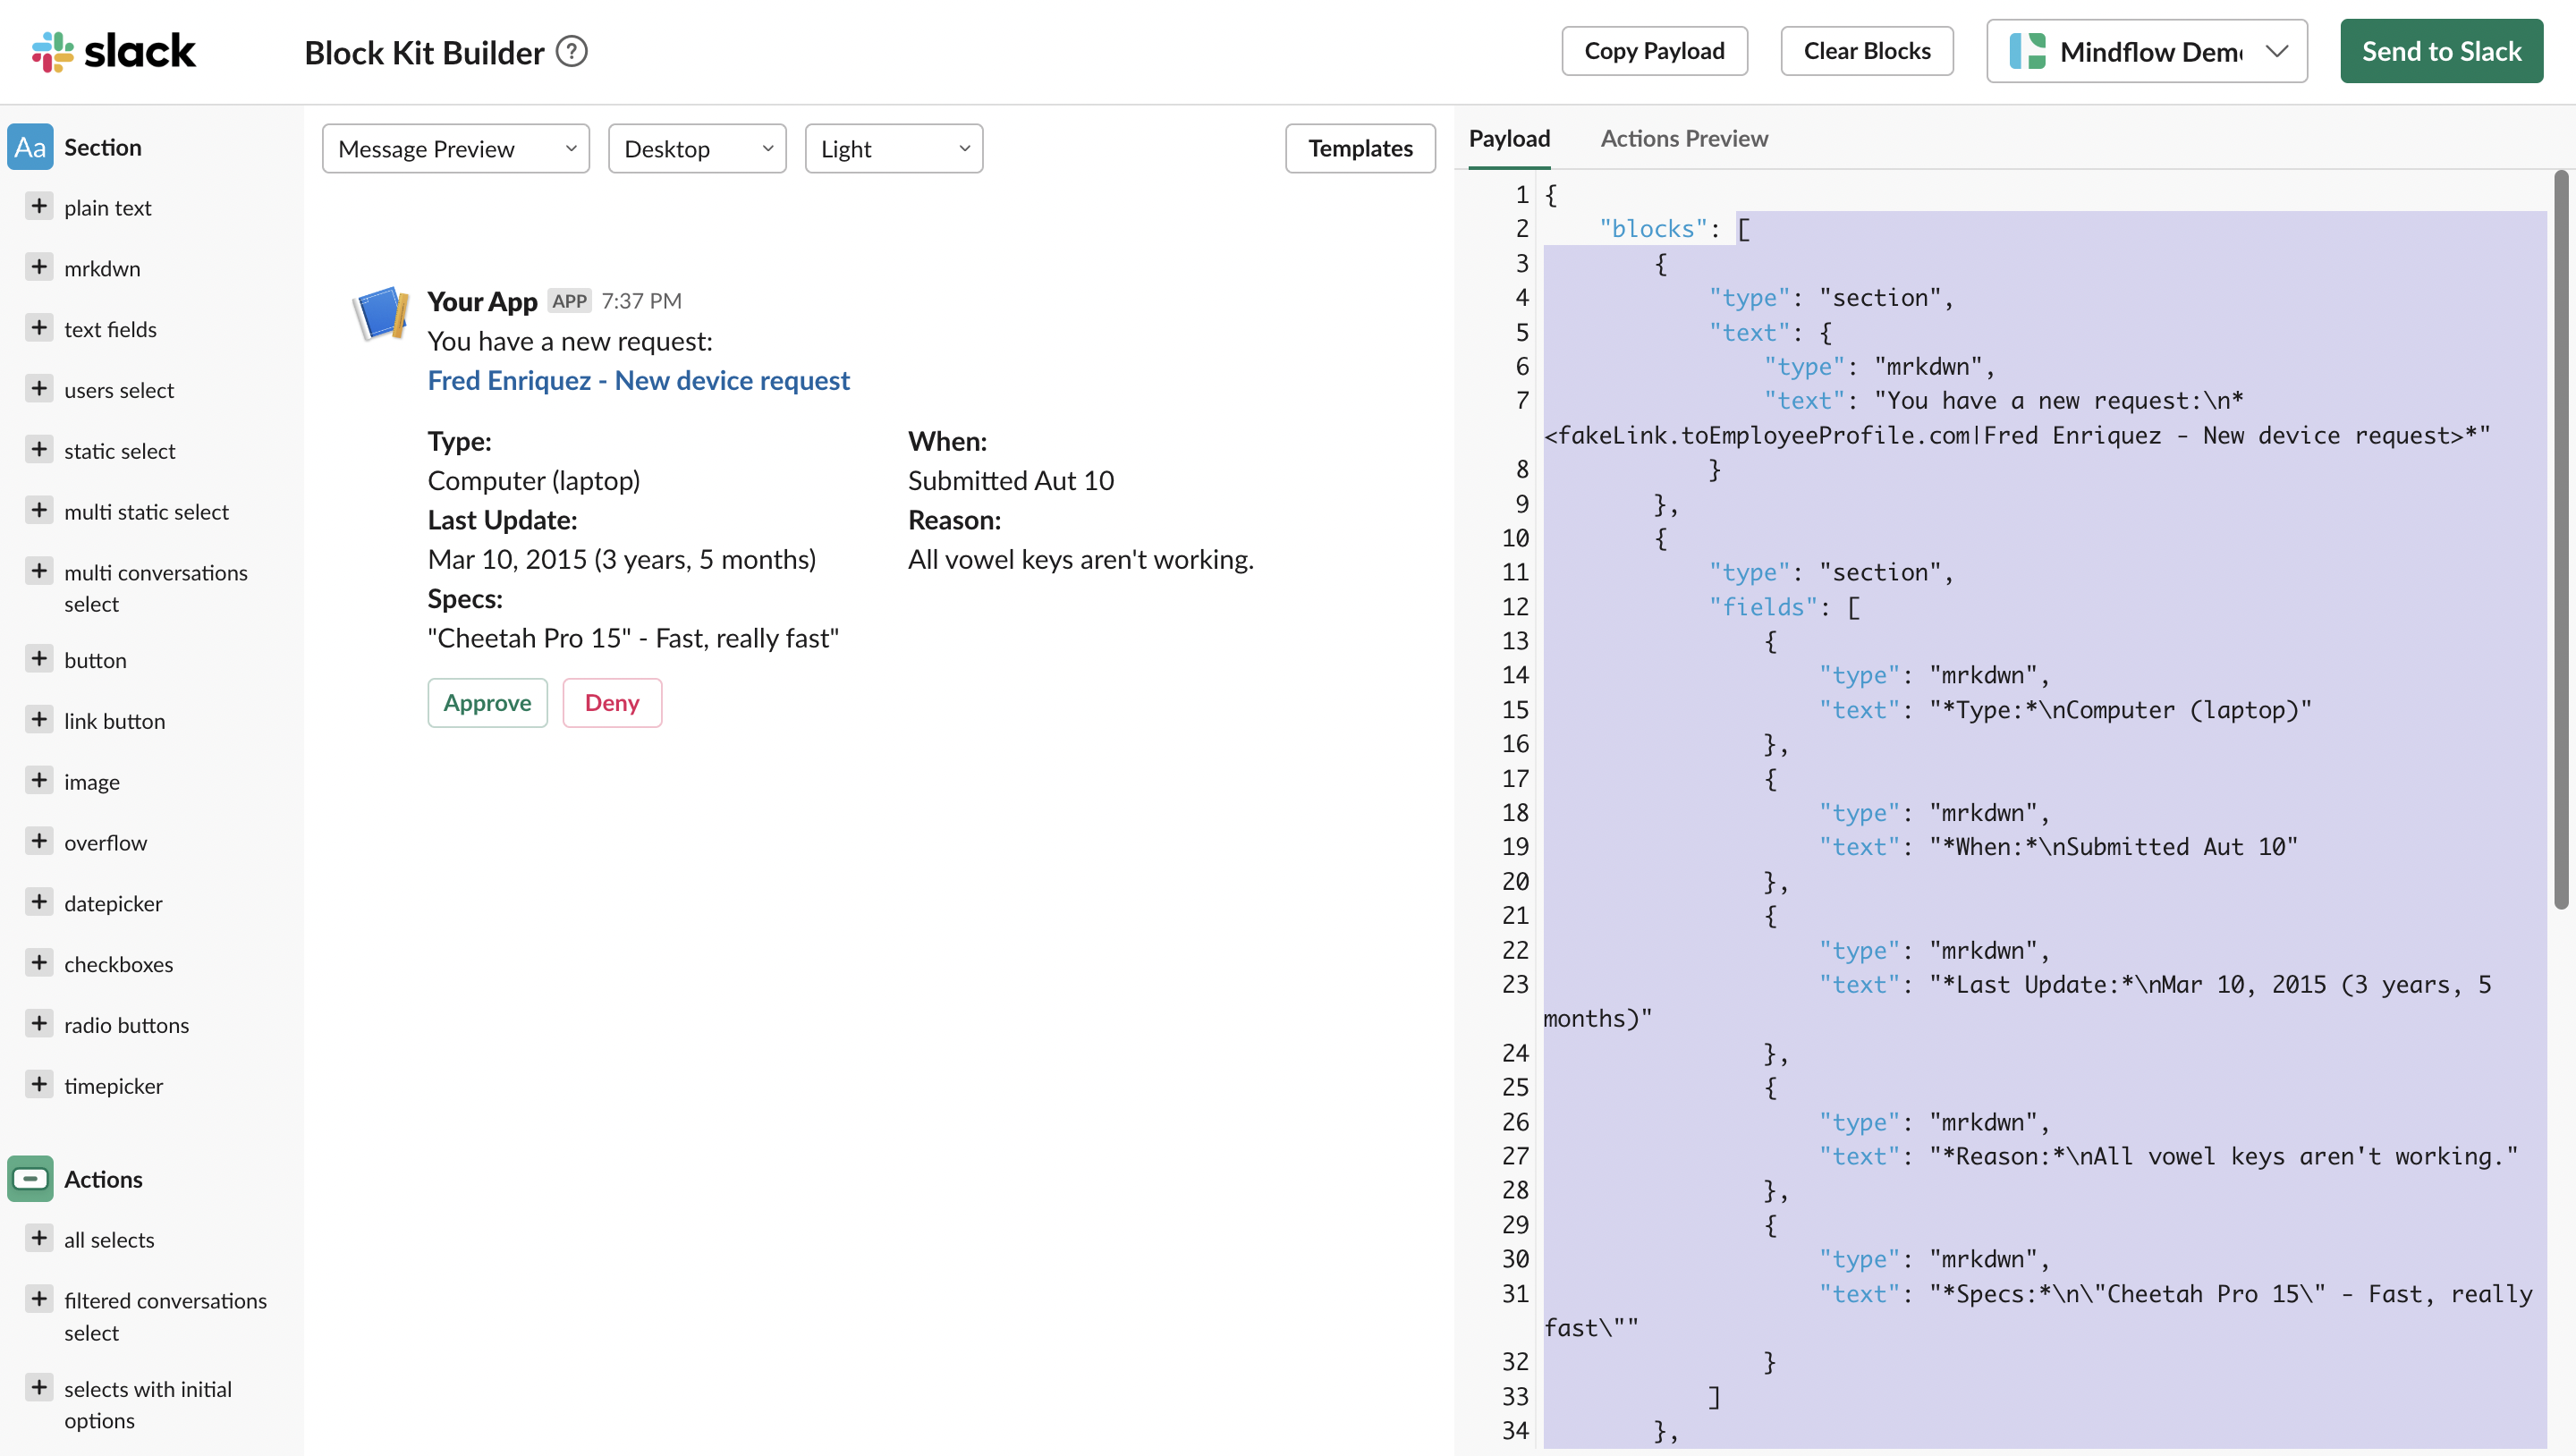
-
Go back to your flow and paste your Slack channel id in the
Channelsfield and the message configuration in theBlocksfield.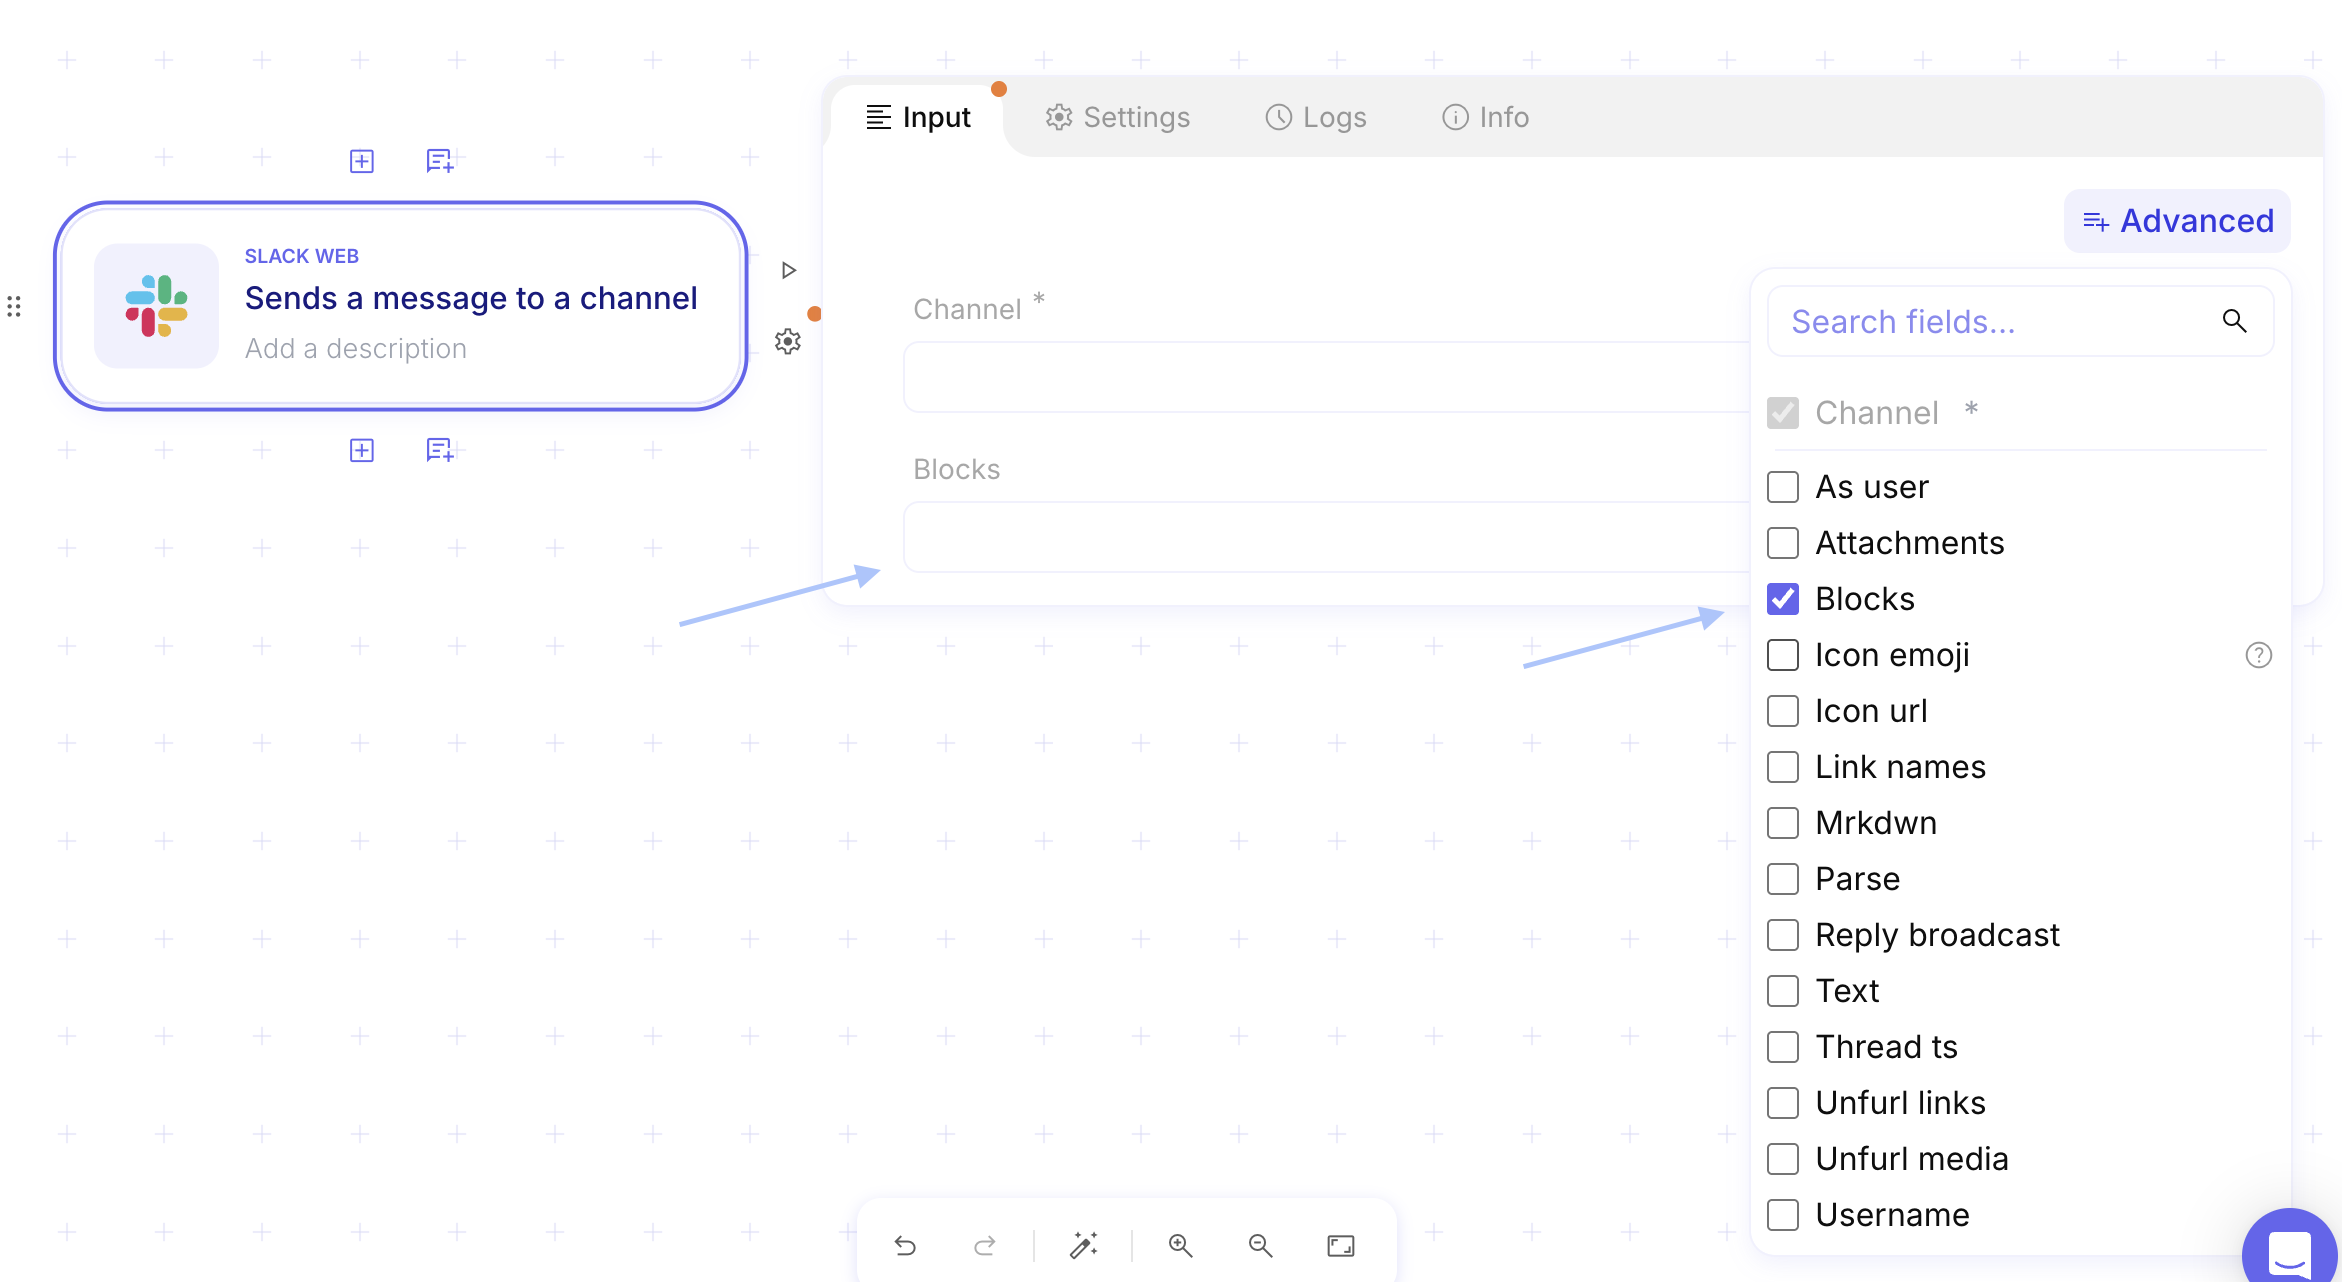
You’ve now set up your flow and your Slack order. Now it’s time to test and deploy your flow!
Test and run it
Section titled “Test and run it”-
Go to your Slack channel and write
/test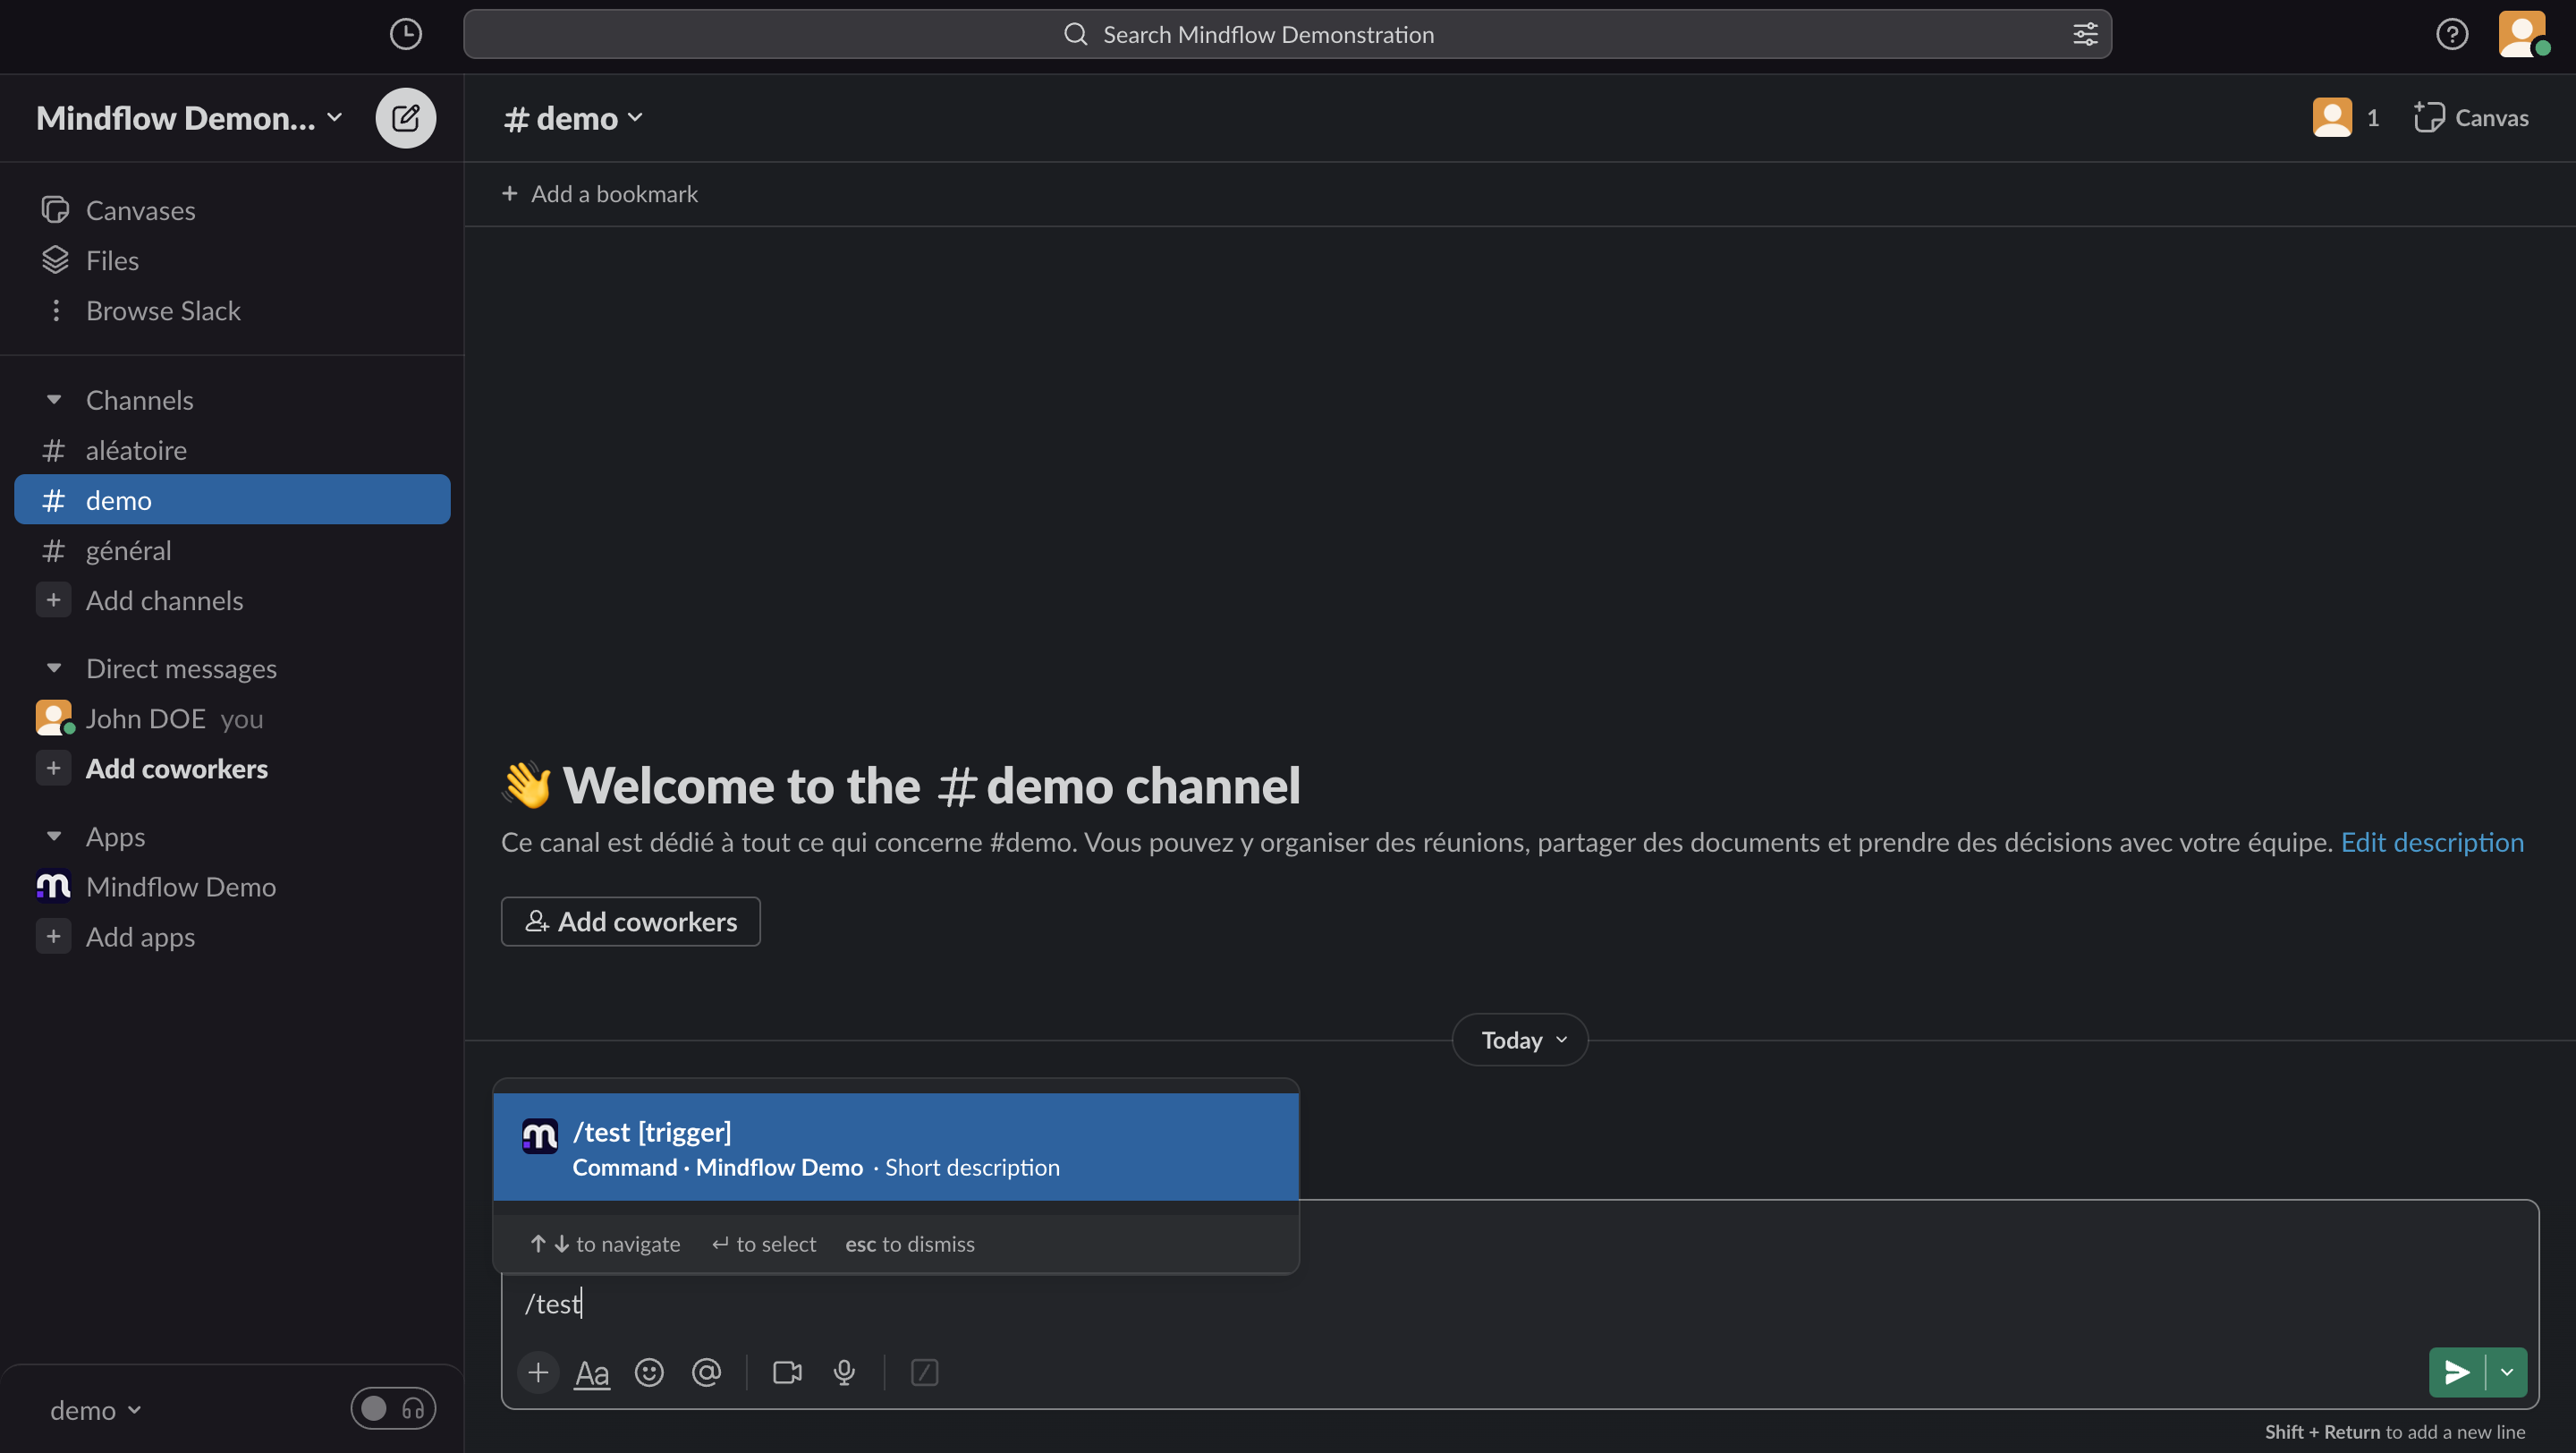
-
Congratulations, your flow has worked successfully and sent you the template message you set up.