

Sign in to Mindflow
Sign in to Mindflow with your workspace URL, create an account when self-registration is enabled, and finish first-time setup in Studio. You can update your profile from the sidebar anytime. Multi-factor authentication (MFA) adds an extra sign-in step—see the MFA section on this page.
When to use
Section titled “When to use”- You are new to Mindflow and need to create an account or sign in for the first time.
- You need to finish first-time onboarding or update your profile picture and name.
- Prefer Single sign-on (SSO) when your organization uses an identity provider instead of email and password.
Before you begin, get your workspace URL from your Mindflow administrator (for example https://your-tenant.mindflow.io).
Sign in with email and password
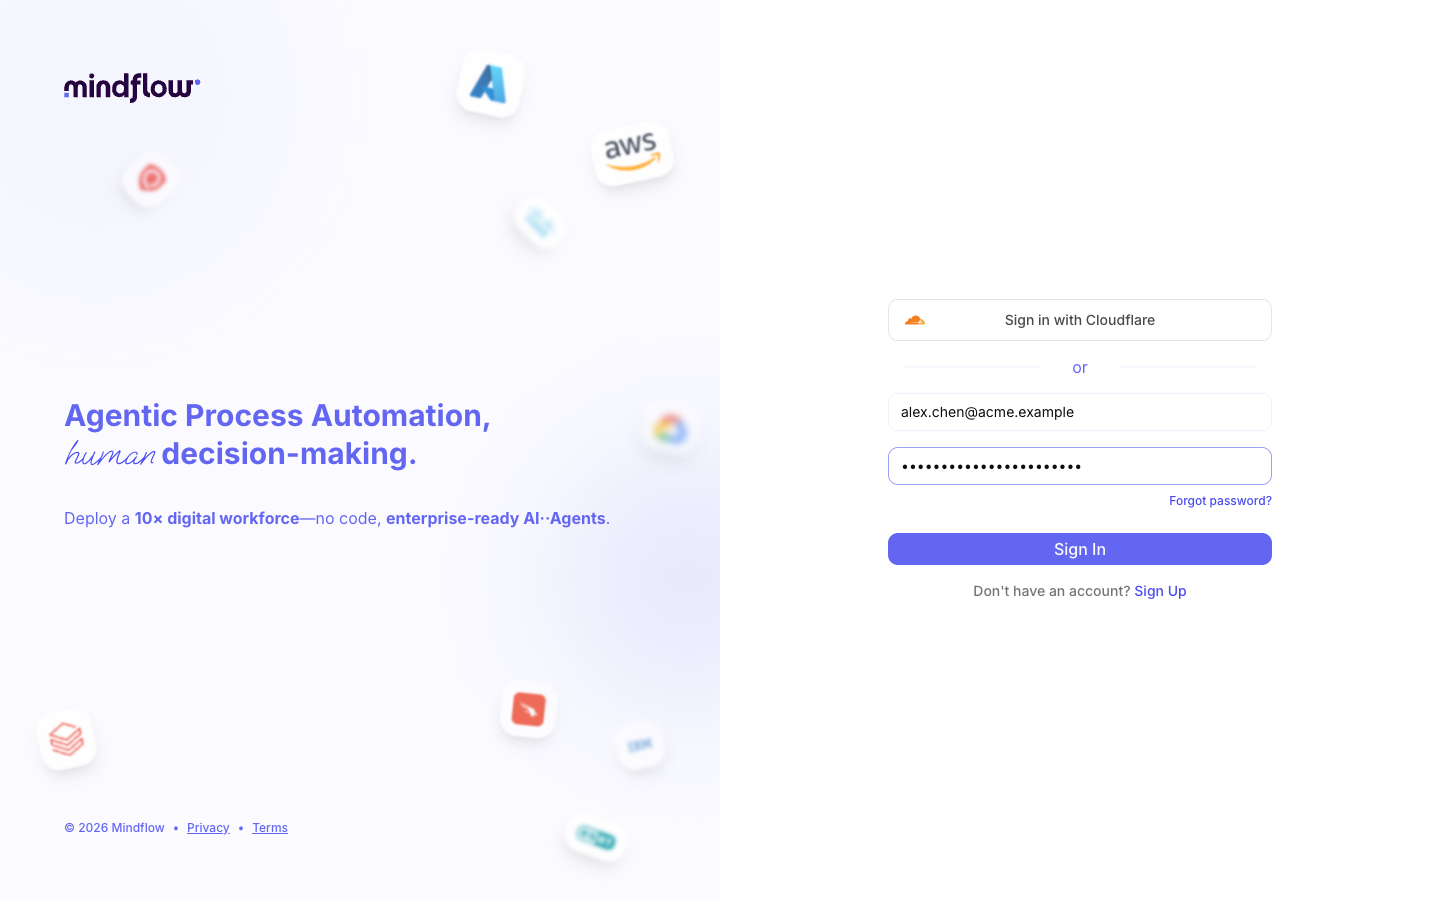
Section titled “Sign in with email and password”Use the authenticate page when you already have an account. Enter the email and password your administrator or registration flow gave you.
-
Open your workspace URL. Replace
your-tenantwith your hostname (for examplehttps://acme.mindflow.io). -
Enter your credentials. Type your Email and Password.
-
Sign in. Click Sign In. If your organization enabled SSO, use Sign in with your provider instead.
Forgot your password? See Update your password.
Create an account
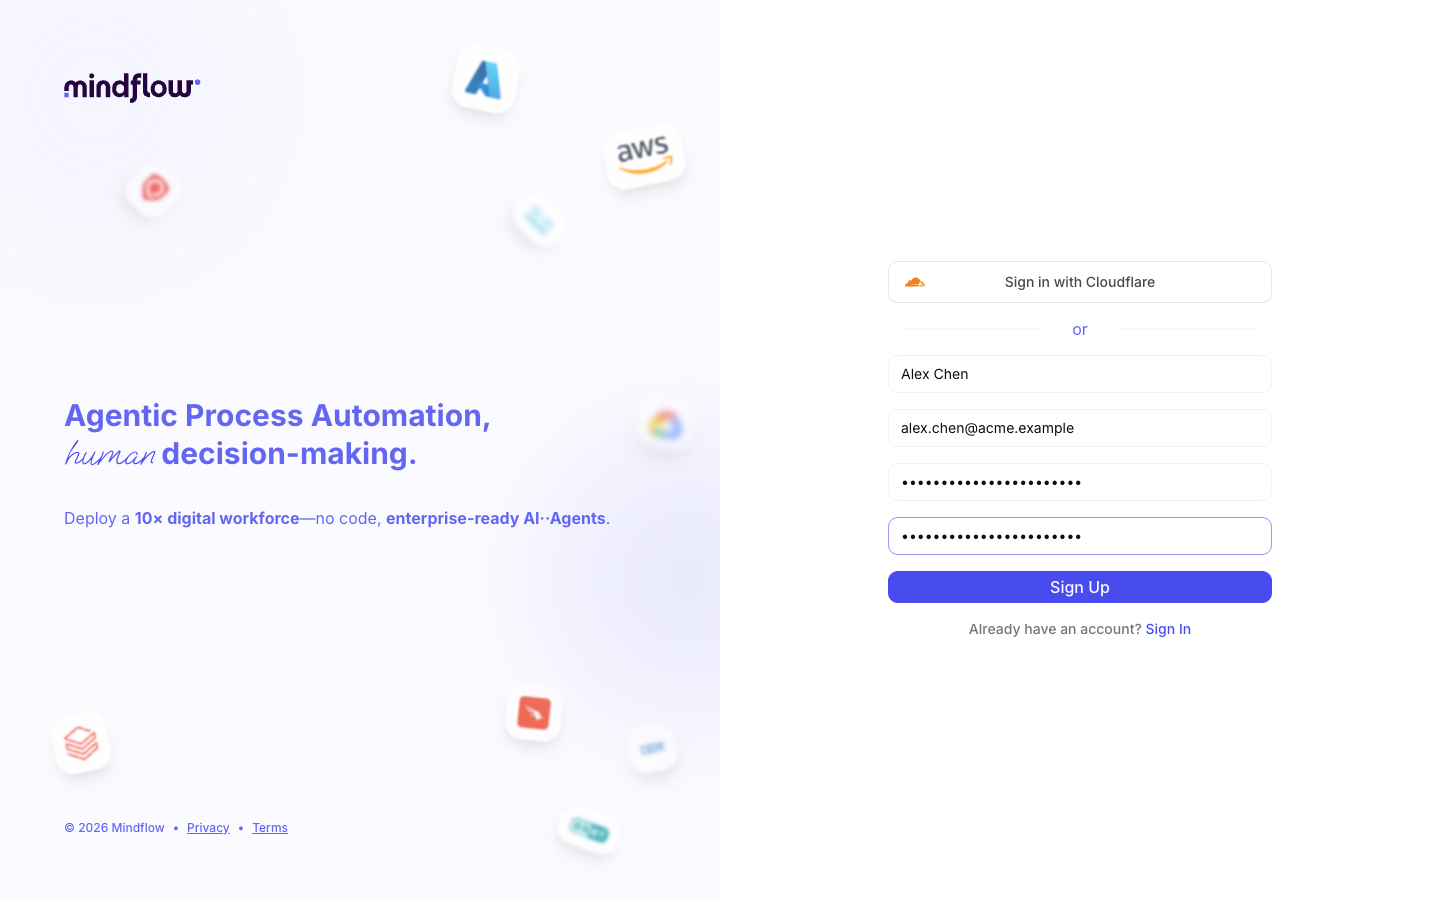
Section titled “Create an account”When self-registration is enabled on your tenant, open your workspace URL and register with Sign Up. You enter your name, email, and password, then confirm the verification code Mindflow emails you. If your organization uses SSO instead, follow Single sign-on (SSO) and skip email registration.
Some tenants close email Sign Up on purpose (often when SSO is the main way to join). On those tenants the sign-in page shows Sign In and Sign in with your provider only—no Sign Up link. Ask your administrator to create your account, or use SSO the first time. Existing email and password sign-in still works when your organization kept it enabled.
-
Open your workspace URL. Replace
your-tenantwith your hostname (for examplehttps://acme.mindflow.io). Studio opens the authenticate page. -
Open Sign Up. On the sign-in form, choose Sign Up at the bottom of the card. If your tenant hides Sign Up, use Sign in with your provider or ask an administrator for an account. If your tenant exposes SSO on this page, you can use Sign in with your provider instead of email registration.
-
Fill in the form. Enter Full name, Email, Password, and Confirm your password, then click Sign Up.
-
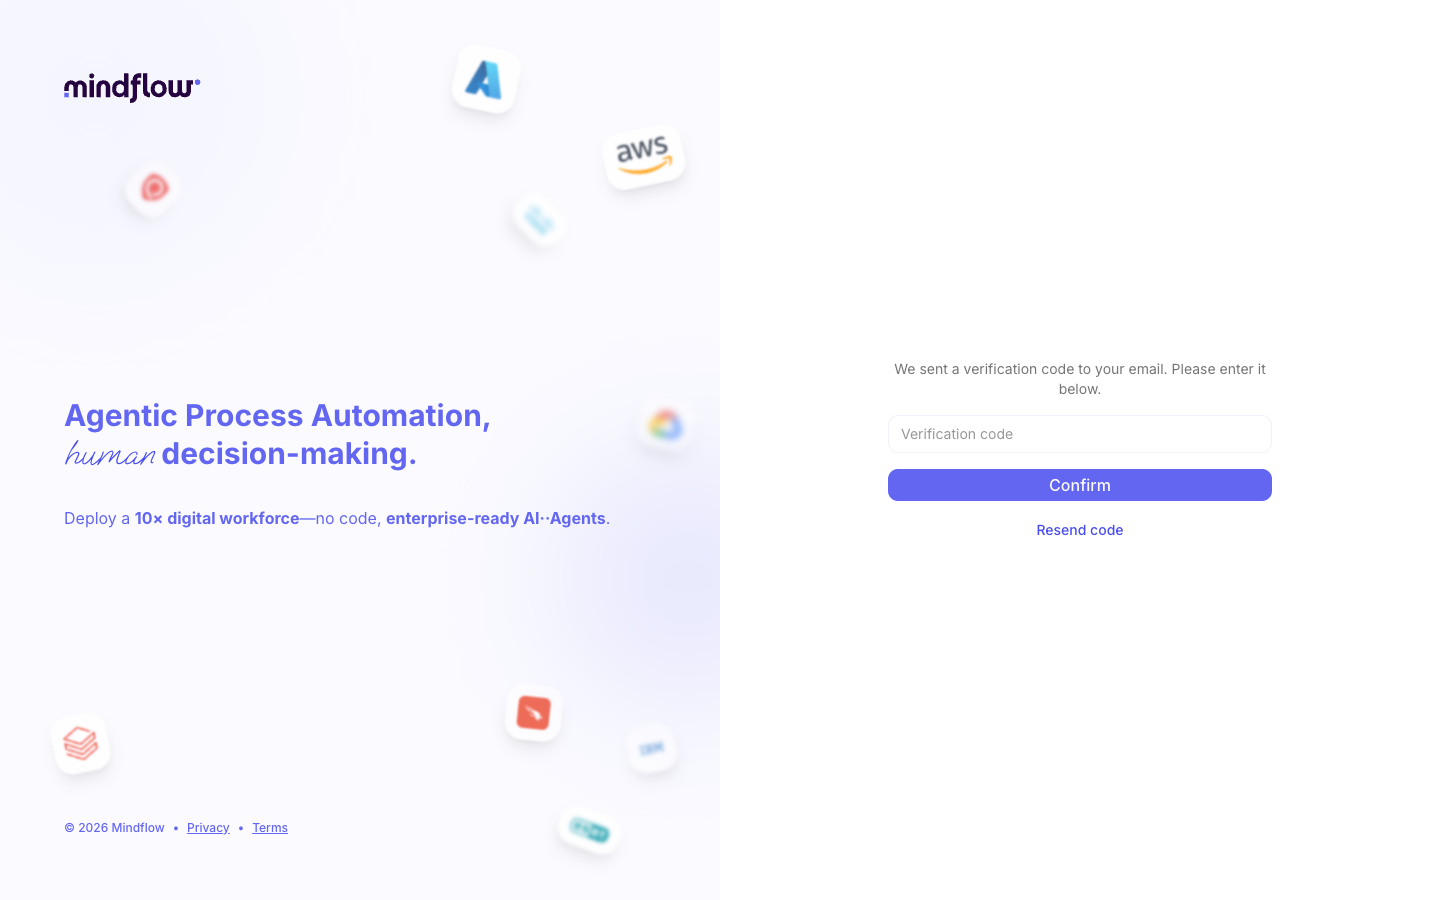
Confirm your email. Mindflow emails a verification code. Enter it in Verification code, then click Confirm. If the code does not arrive, choose Resend code. After confirmation, Studio signs you in.
Complete first-time onboarding
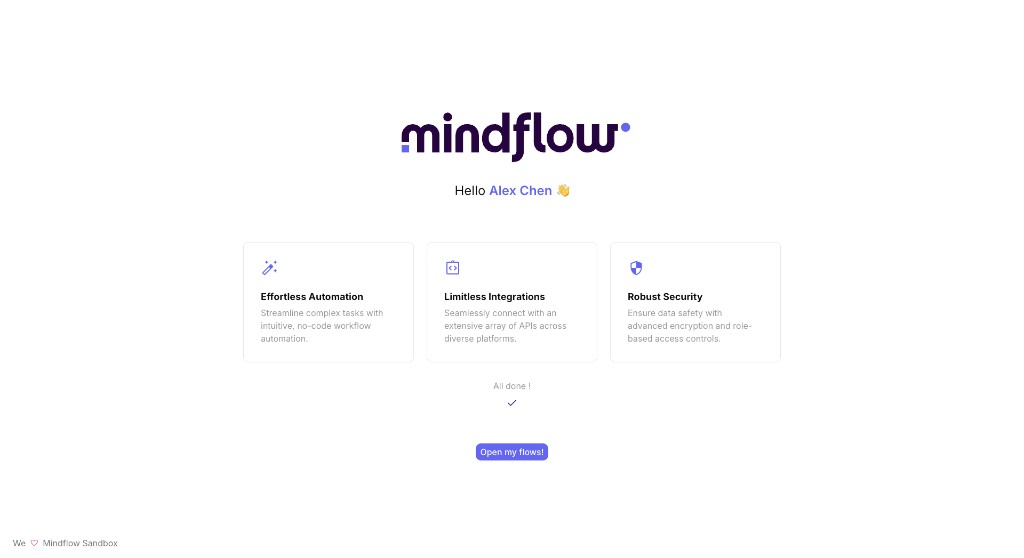
Section titled “Complete first-time onboarding”On your first login after registration, Mindflow may show an onboarding screen while it prepares your first environment and sample flows. When setup finishes, choose Open my flows! to open the Flows home.
-
Review the welcome screen. Mindflow greets you by name and shows capability cards while your first environment and sample flows are prepared.
-
Open Flows. When the status shows All done !, click Open my flows!.
Update your profile
Section titled “Update your profile”Open My profile from your avatar in the Studio sidebar to change your profile picture or full name. Email is shown for reference; password users can change their password from the same page.
-
Open My profile. Click your avatar in the sidebar, then choose My profile.
-
Edit your details. Upload a profile picture (
.jpgor.png, under 400 KB) or edit Full name.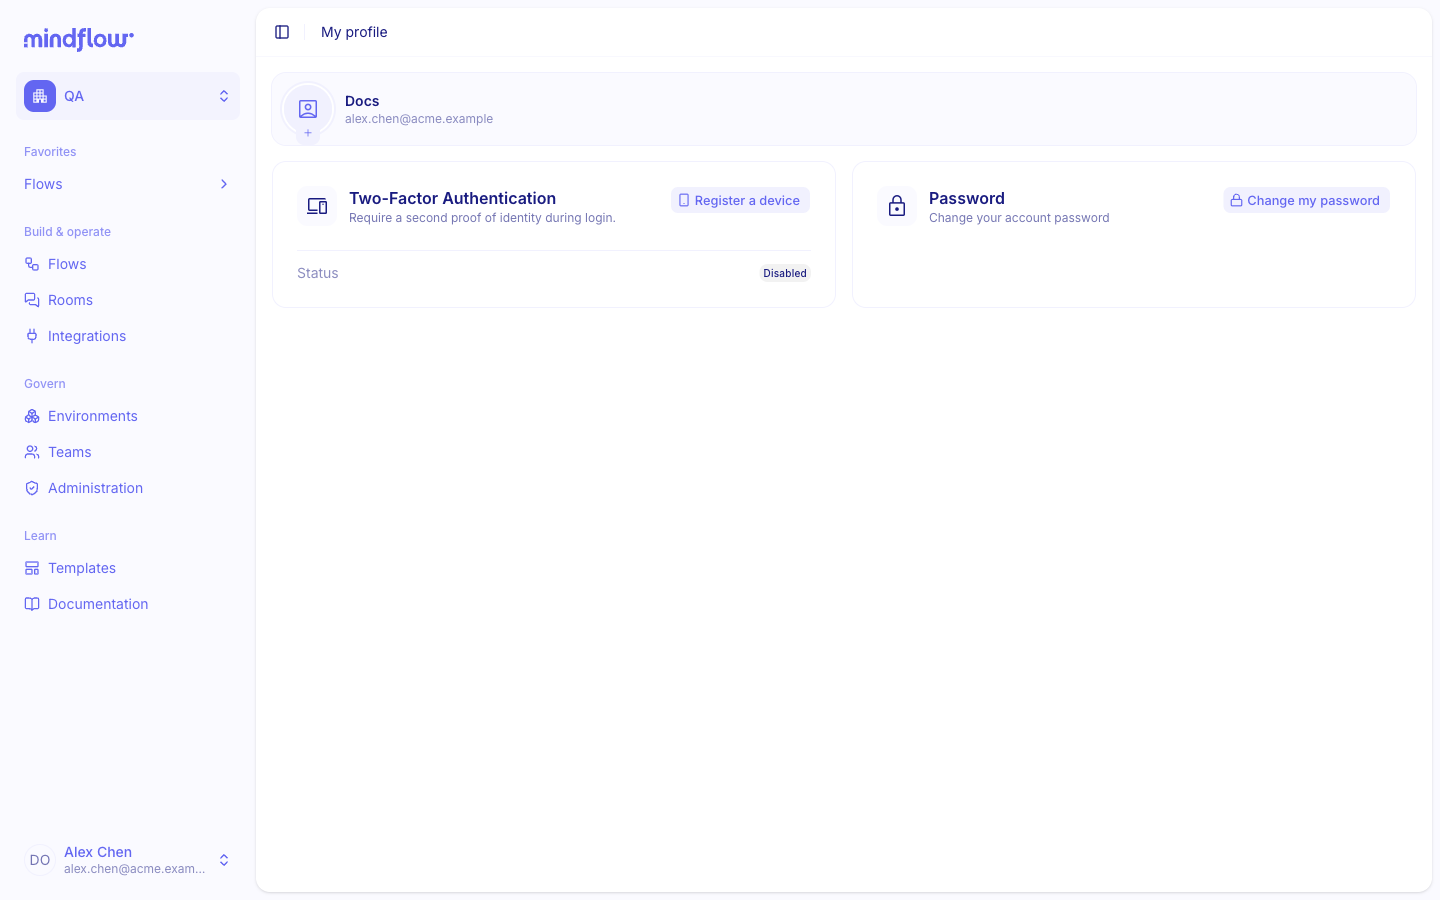
To change your password later, see Update your password.
Enable multi-factor authentication
Section titled “Enable multi-factor authentication”Set up MFA to protect your account.
-
Open My profile. Click your account in the bottom-left corner of Studio, then choose My profile.
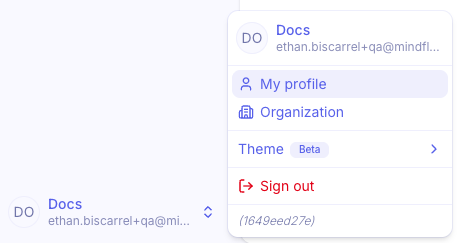
-
Register a device. On the Two-Factor Authentication card, click Register a device.
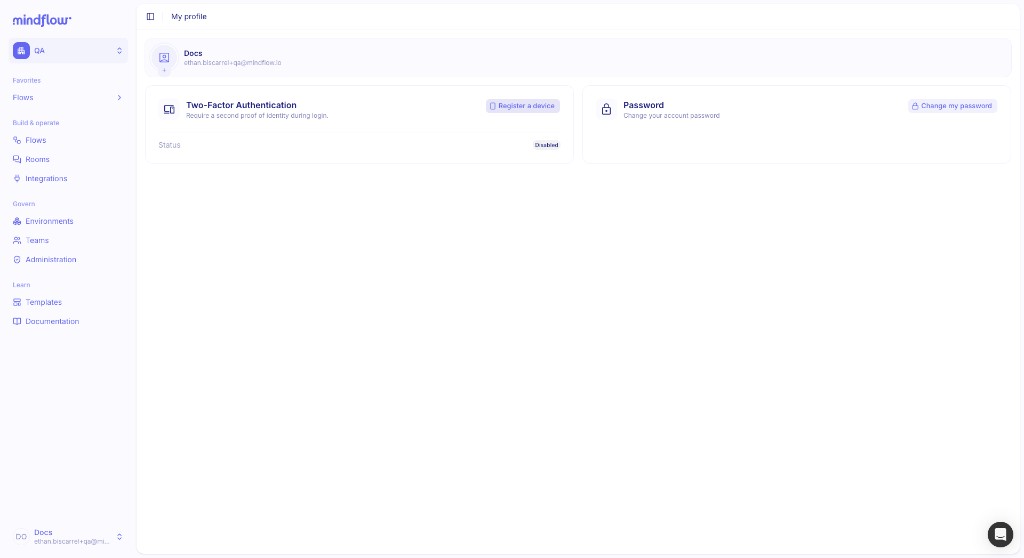
-
Scan the QR code and verify. In the Authenticator setup dialog, scan the QR code with your authenticator app (for example Google Authenticator or Authy), enter the verification code, then click Next.
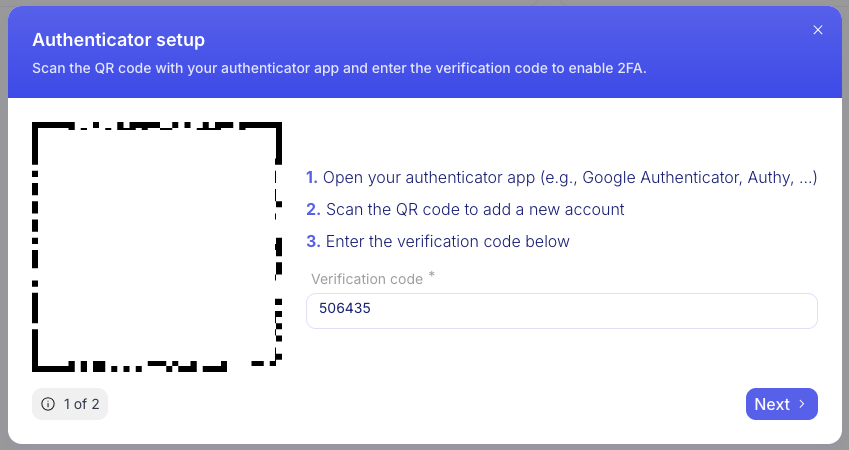
-
Finish setup. Confirm the success message, then click Finish.
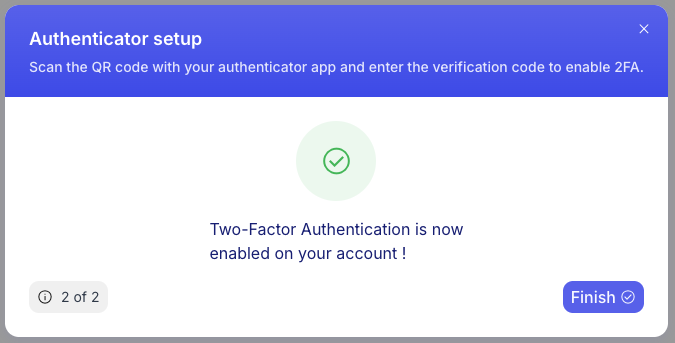
When setup finishes, the Two-Factor Authentication card shows Enabled. To replace your authenticator, click Update 2FA device.

Related
Section titled “Related”- Single sign-on (SSO) — configure and use SSO for your organization.
- Update your password — change your password from My profile.